
eStore - Flutter App for WooCommerce
Thank you for purchasing the code. If you have any questions that are beyond the scope of this help file, please feel free to message me via my user page contact form here. Thanks so much!
How to setup Andorid Studio
- Please prefer video tutorials how to install Andorid Studio
- Please prefer video tutorials how to install Mac
- Head over to this
link to get the Android Studio executable or zip file.
- Click on the Download Android Studio Button.
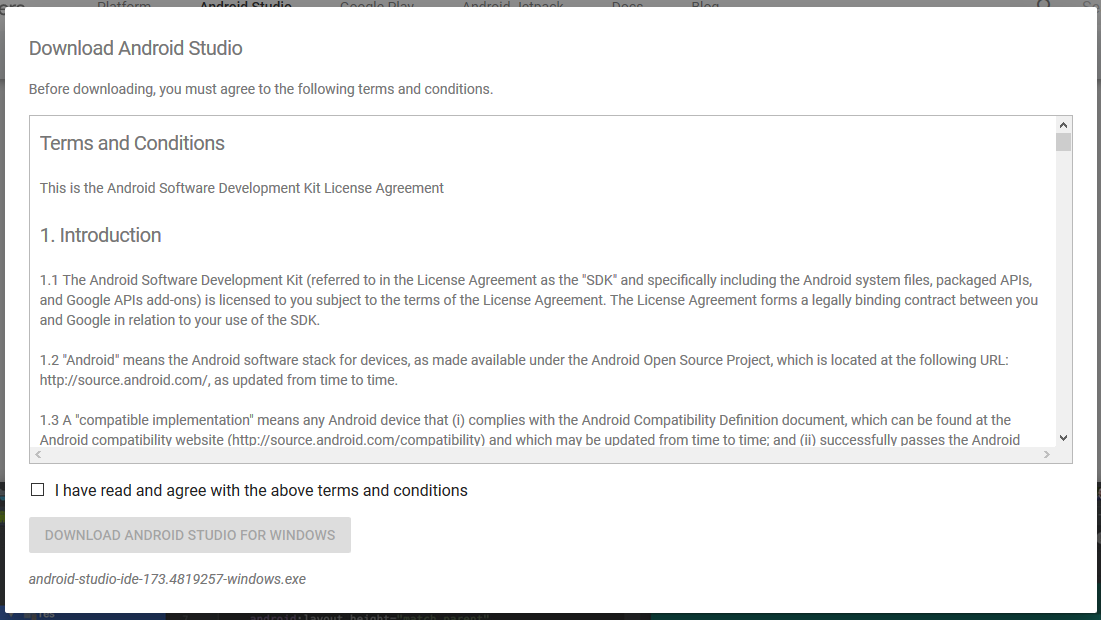
- Click on the “I have read and agree with the above terms and conditions” checkbox followed by the download button.
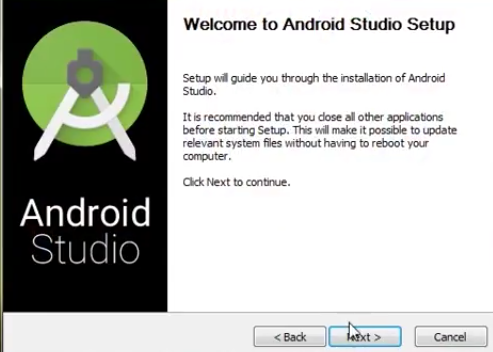
- After the downloading has finished, open the file from downloads and run it. It will prompt the following dialog box.
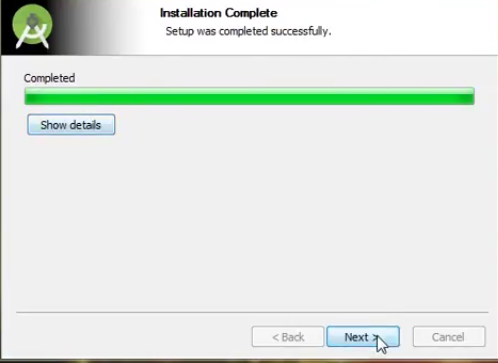
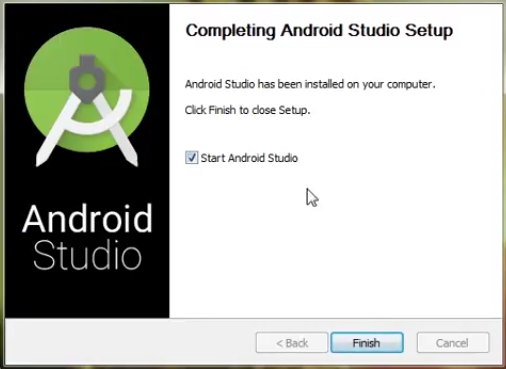
- It will start the installation, and once it is completed, it will be like the image shown below.
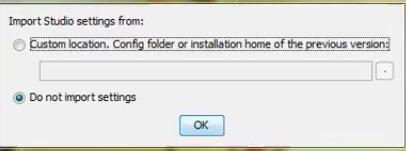
- Once “Finish” is clicked, it will ask whether the previous settings need to be imported [if the android studio had been installed earlier], or not. It is better to choose the ‘Don’t import Settings option’.
- Click the OK button.
- This will start the Android Studio.
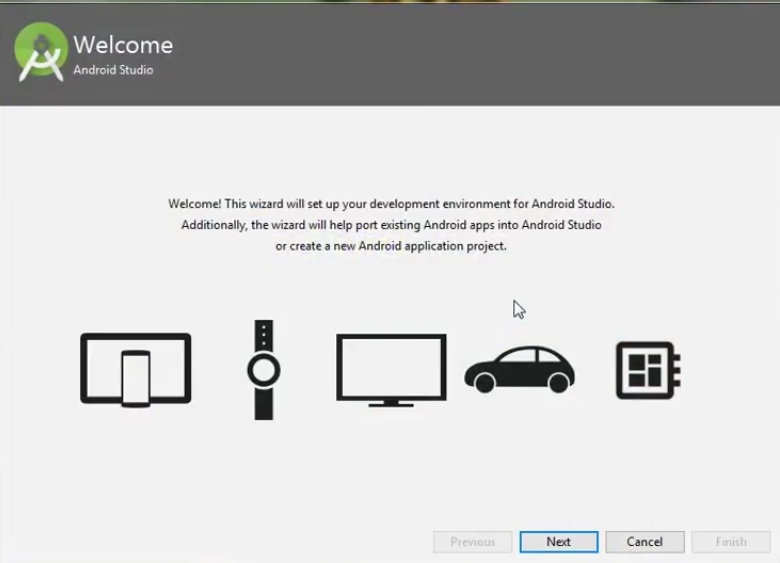
- After it has found the SDK components, it will redirect to the Welcome dialog box.
- Click on Next.
- Click on the Next button.
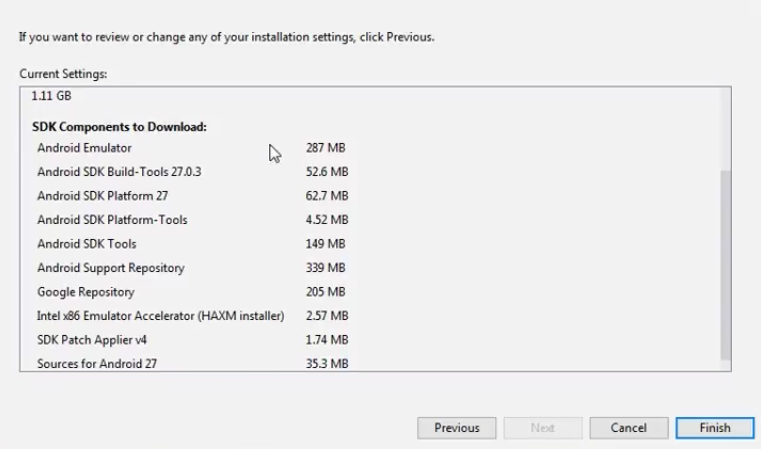
- Now it is time to download the SDK components.
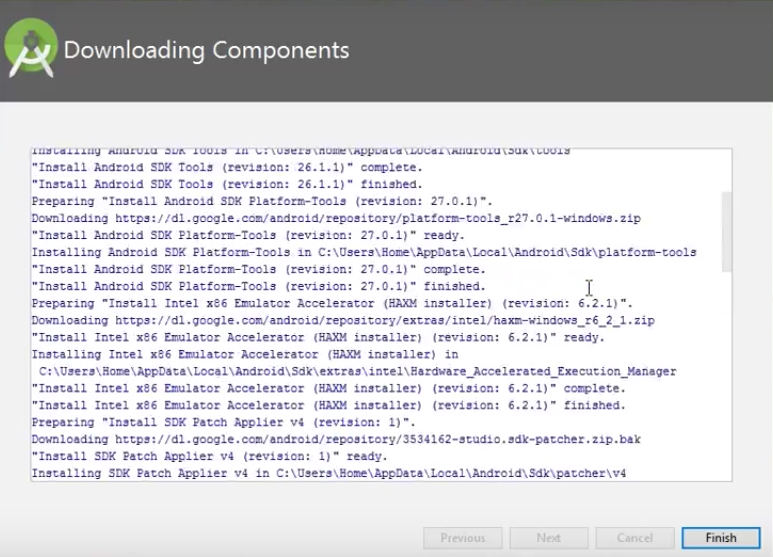
- Click on Finish. Components begin to download let it complete.
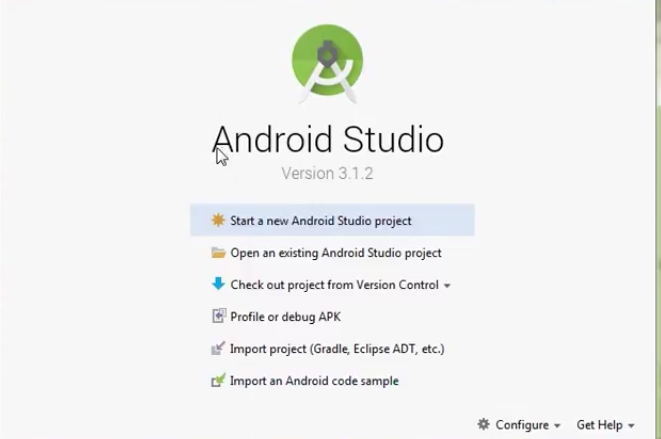
- Click on Start a new Android Studio project to build a new app.
Click on the Save file button in the appeared prompt box and the file will start downloading.
Click on next. In the next prompt, it’ll ask for a path for installation. Choose a path and hit next.
Click on next.

Meanwhile, it will be finding the available SDK components.

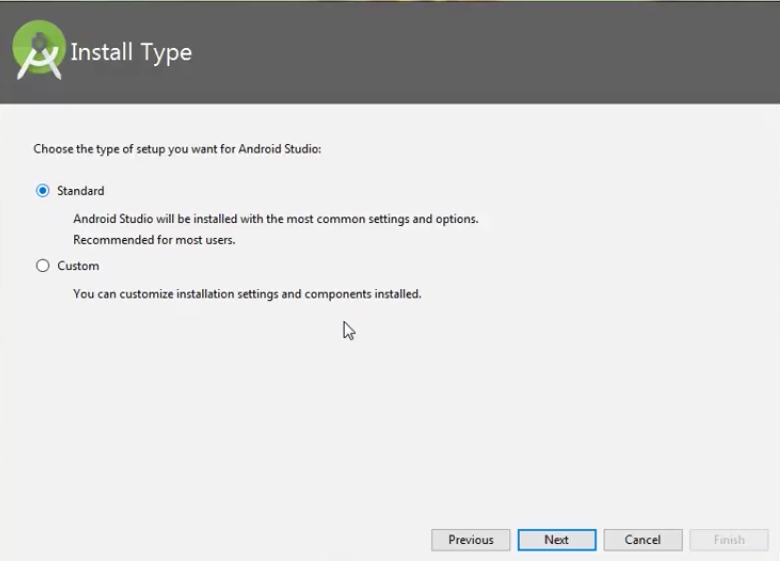
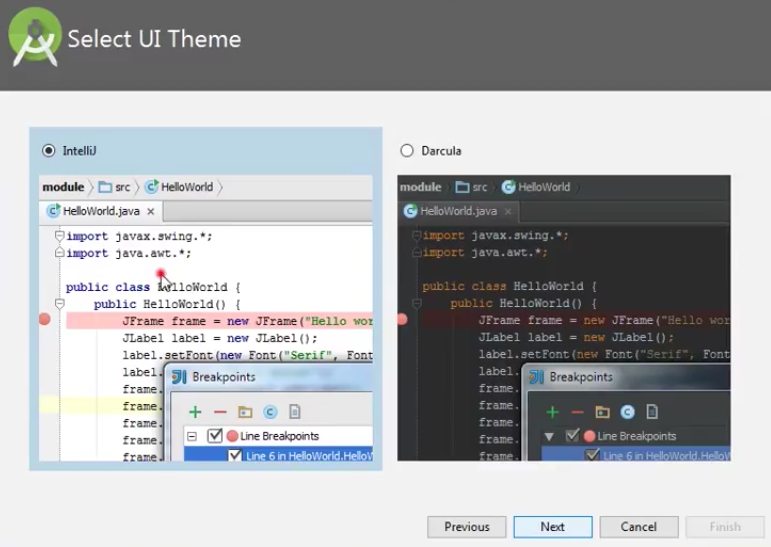
Choose Standard and click on Next. Now choose the theme, whether the Light theme or the Dark one. The light one is called the IntelliJ theme whereas the dark theme is called Dracula. Choose as required.
The Android Studio has been successfully configured. Now it’s time to launch and build apps. Click on the Finish button to launch it.
To run your first android app in Android Studio you may refer to Running your first Android app.
How to setup Flutter
- If you want to install Estore application so first of fall you have required flutter version 3.24.3
- Please prefer video tutorials how to install Flutter
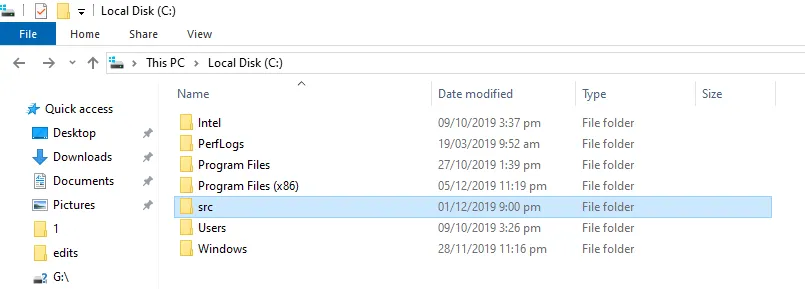
- For Flutter Installation, first you need to go to your C// drive and create a folder called ,“src”
After creating a folder, just go into that folder and run the below command from Git Bash here.
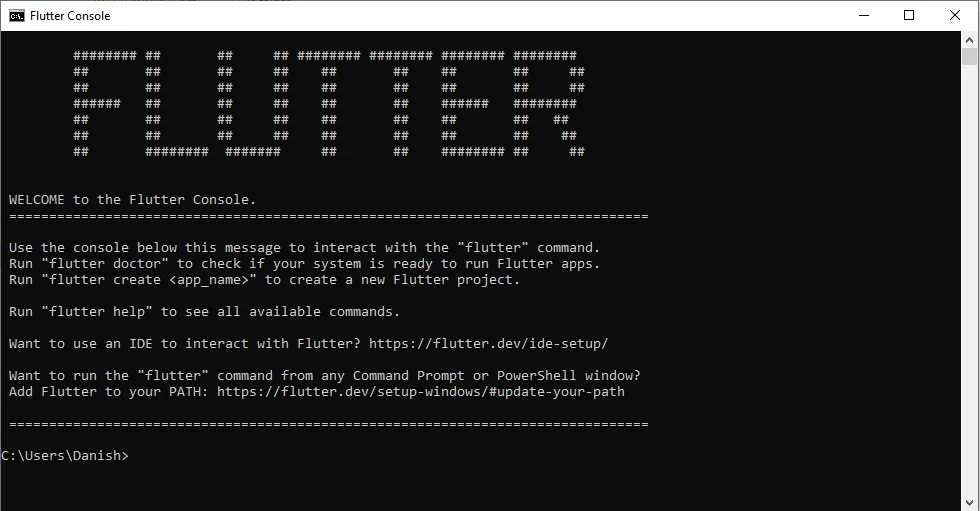
It will download the flutter repository from Github. And After the installation you will need to go to the flutter folder inside the src folder, and run flutter console you will see like below screenshot:
After that you will need to write a flutter command in that console to Install the flutter SDK:
flutter doctor
Now you run for the first time it will take a couple of minutes to install. After successfully installation just run
flutter — version
You will see the version:

Install Flutter Plugin to Android Studio
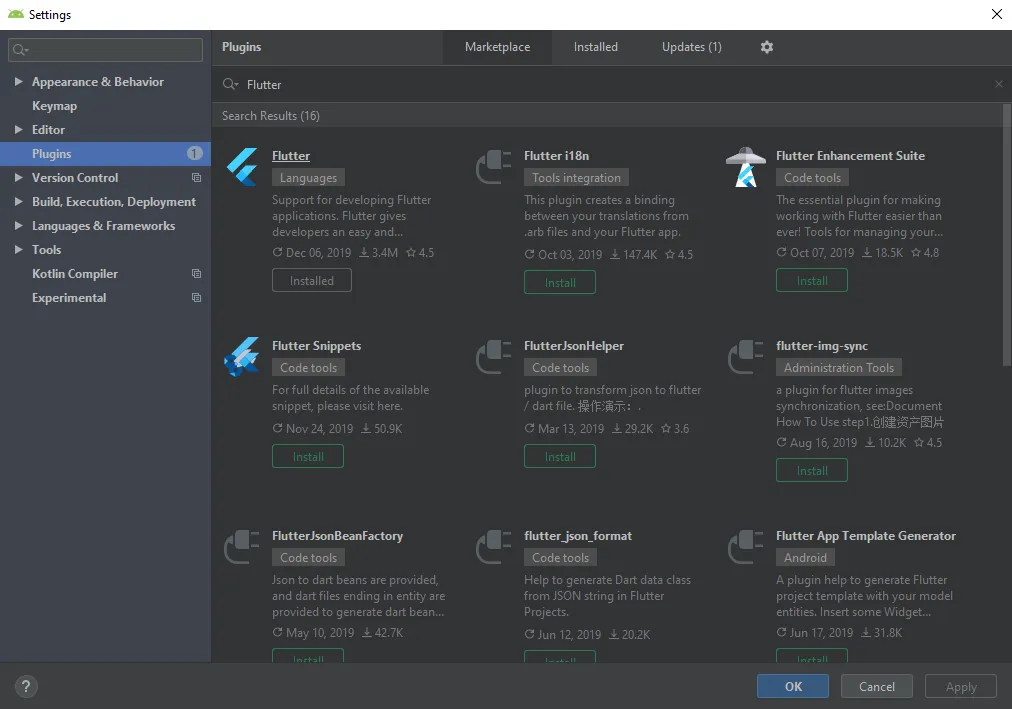
After successful installation of flutter, now we need to install a flutter plugin in Android studio for that you need to go to Settings->Plugins-> Search Flutter and install the plugin and restart Android Studio, like the below screenshot.
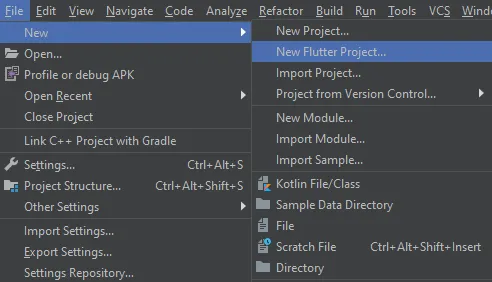
Now you will create a flutter project in Android Studio like the below screenshot.
How to first run project
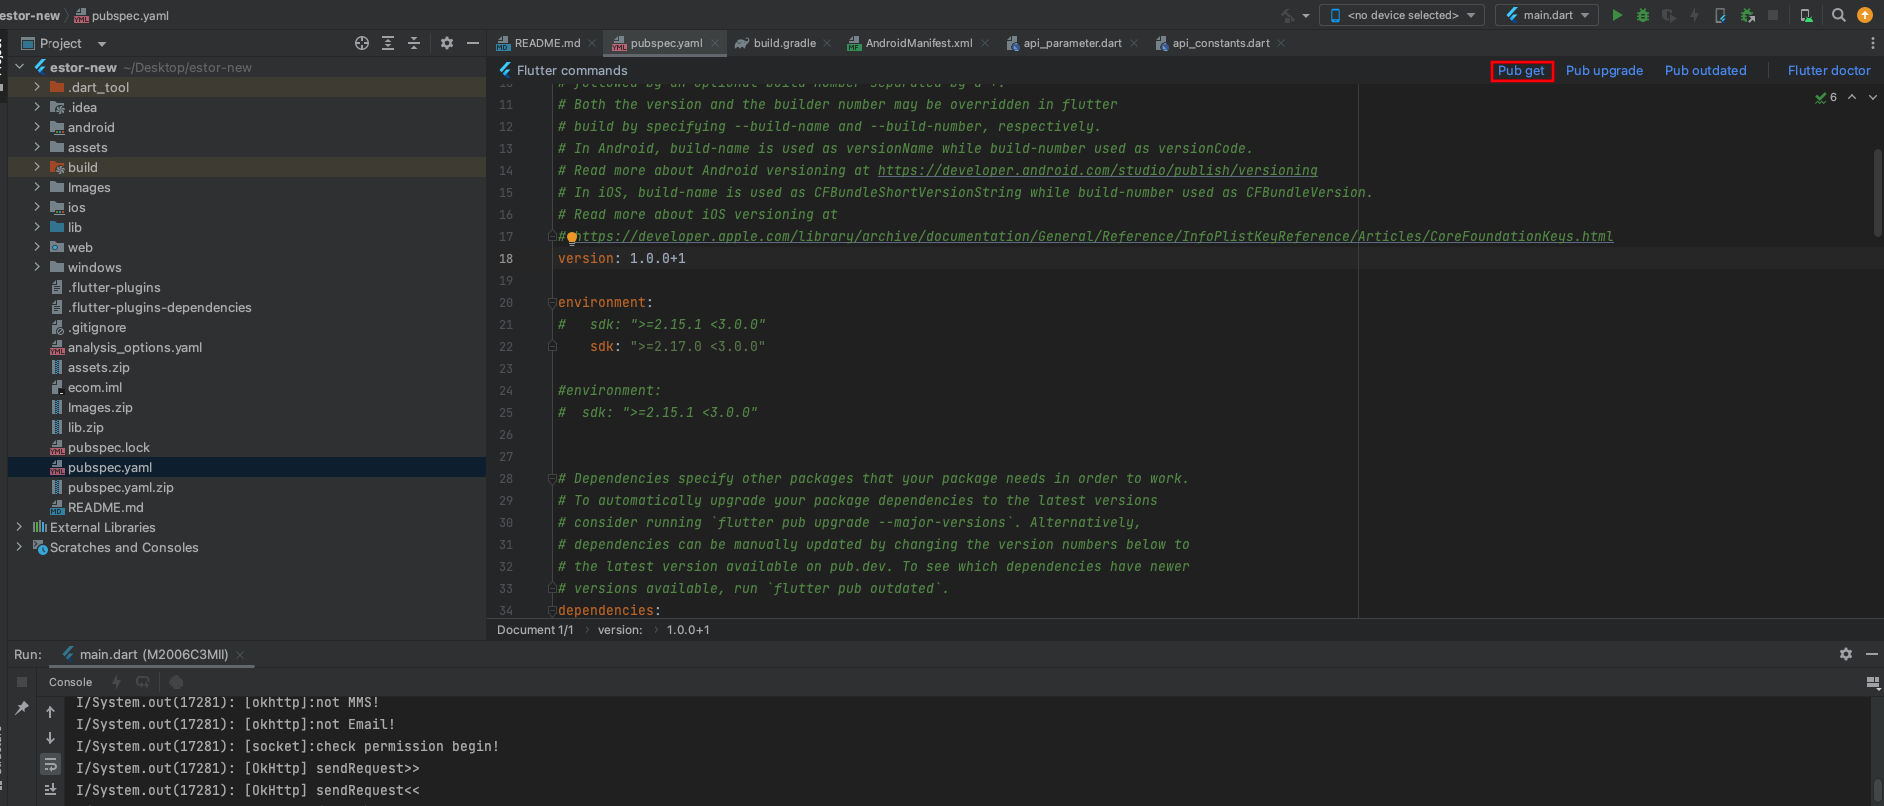
- Go to file > open > then choose your downloaded project location then your project will open.and if you see upar right part 'enable dart support' then click that and go to pubspec.yaml file and in uper right part click pub get or package get and then press run button.
- If your are getting error then you can perform below hack
- if in your system firewall is on, then you can temporary disable firewall and then try to run project
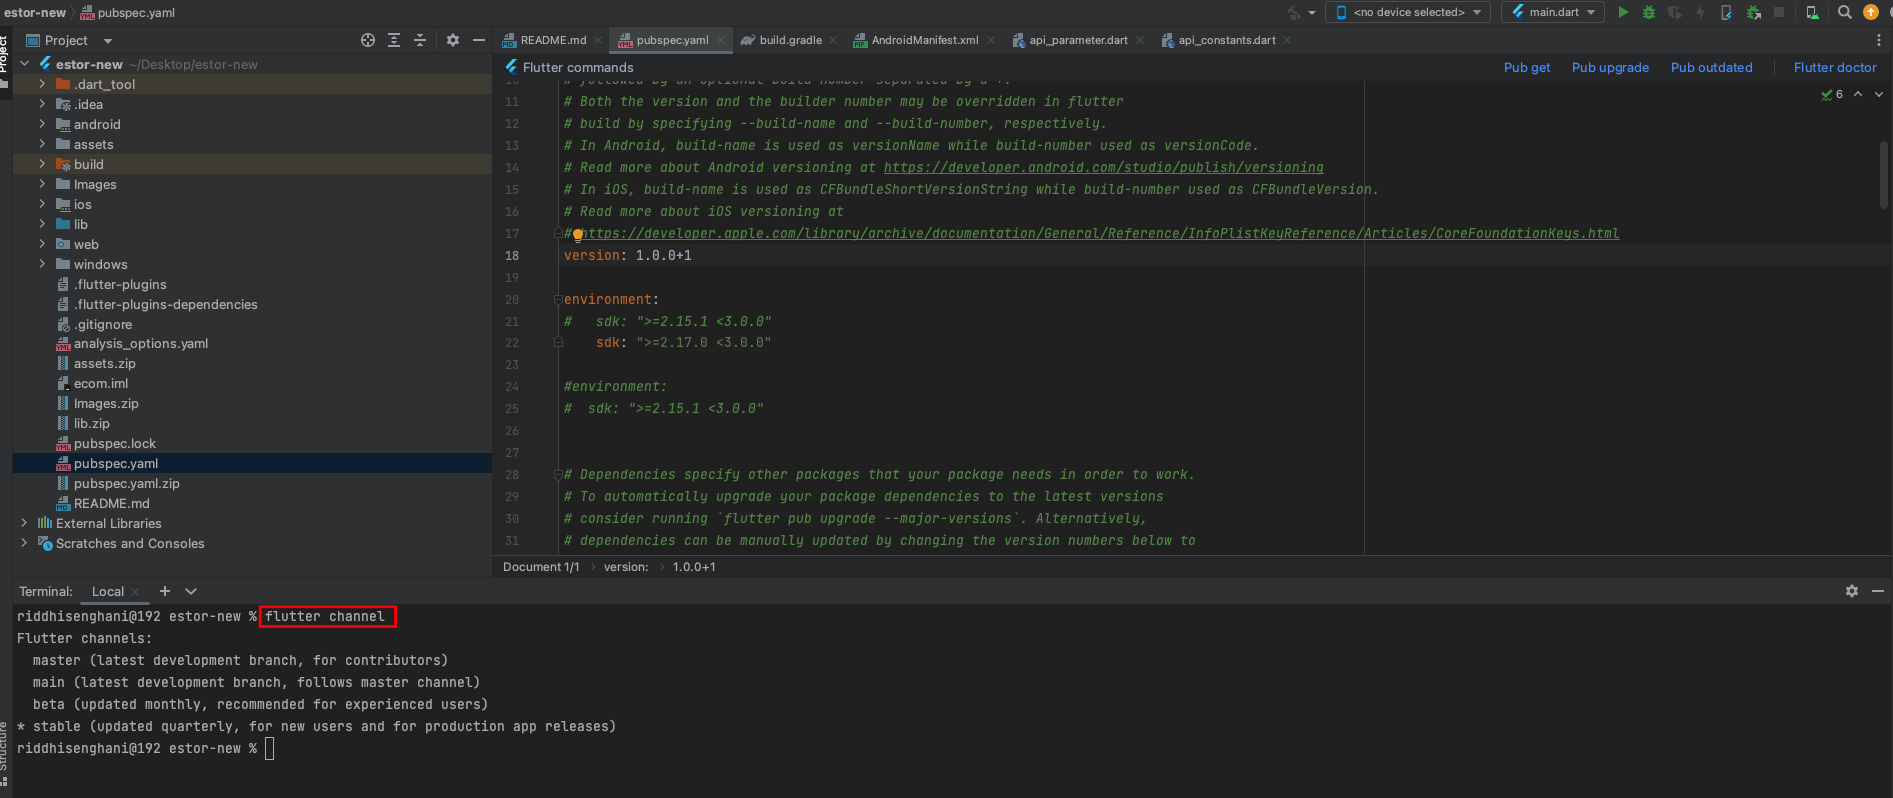
- if your flutter channel is not stable then you need to change it to stable. you can check your flutter channel by terminal.
- go to android studio in bottom line click on terminal, in terminal write flutter channel.as shown below.
- if your are not in stable then write flutter channel stable
- go to Tools > Flutter > Flutter Clen.
- go to file > invalidate cache/ restart
How to Change app logo
- For Android, open android > app > src > main > res > mipmap add here your logo according to device screen size
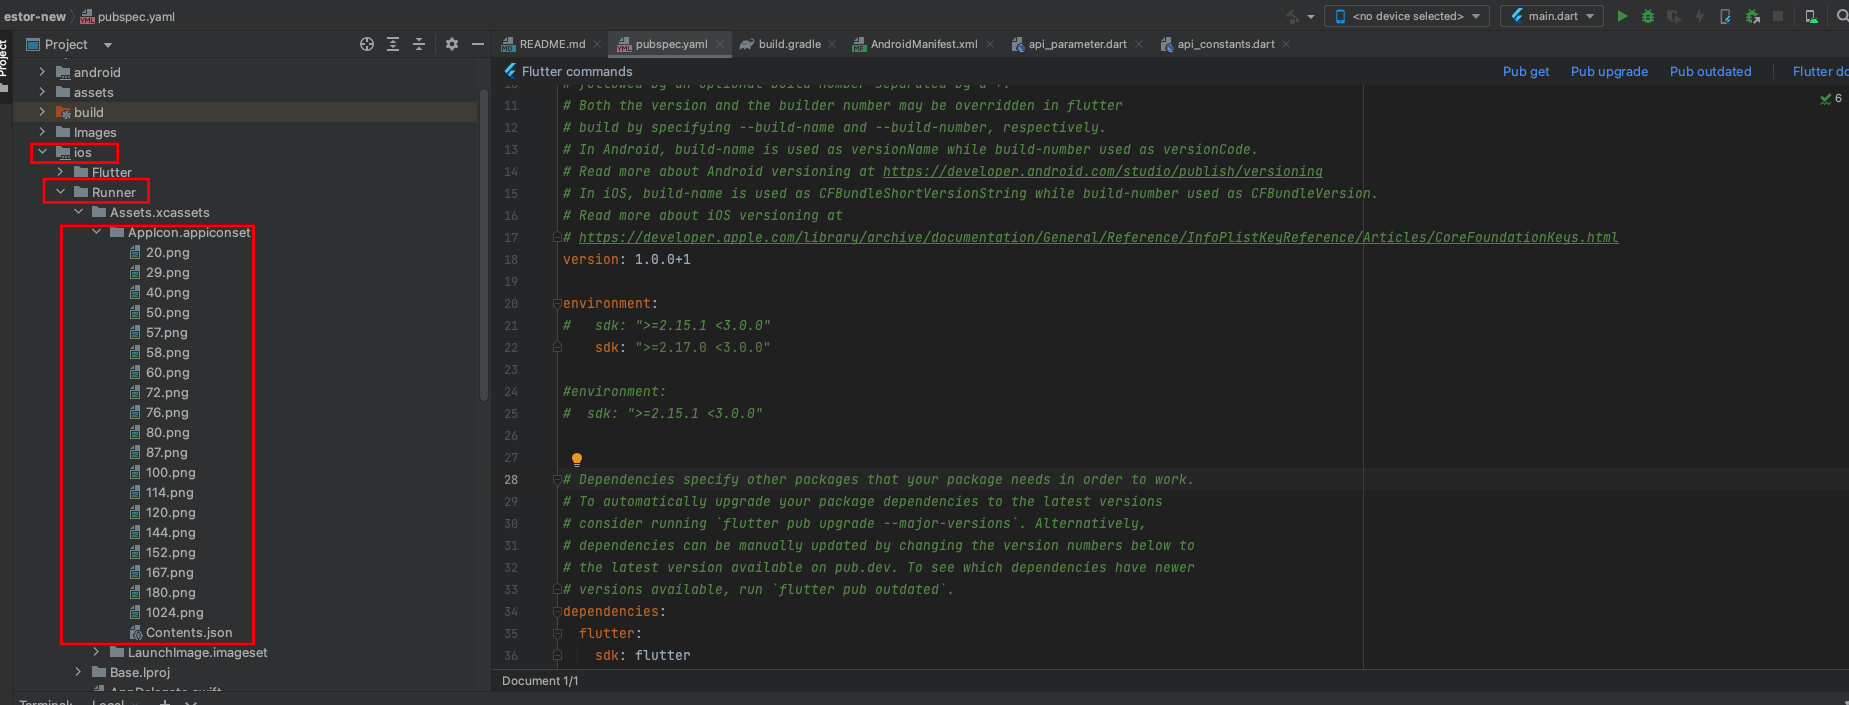
- For iOS, open ios > Runner > Assets.xcassets > AppIcon.appiconset here you need to put your logo according to diffrent size.
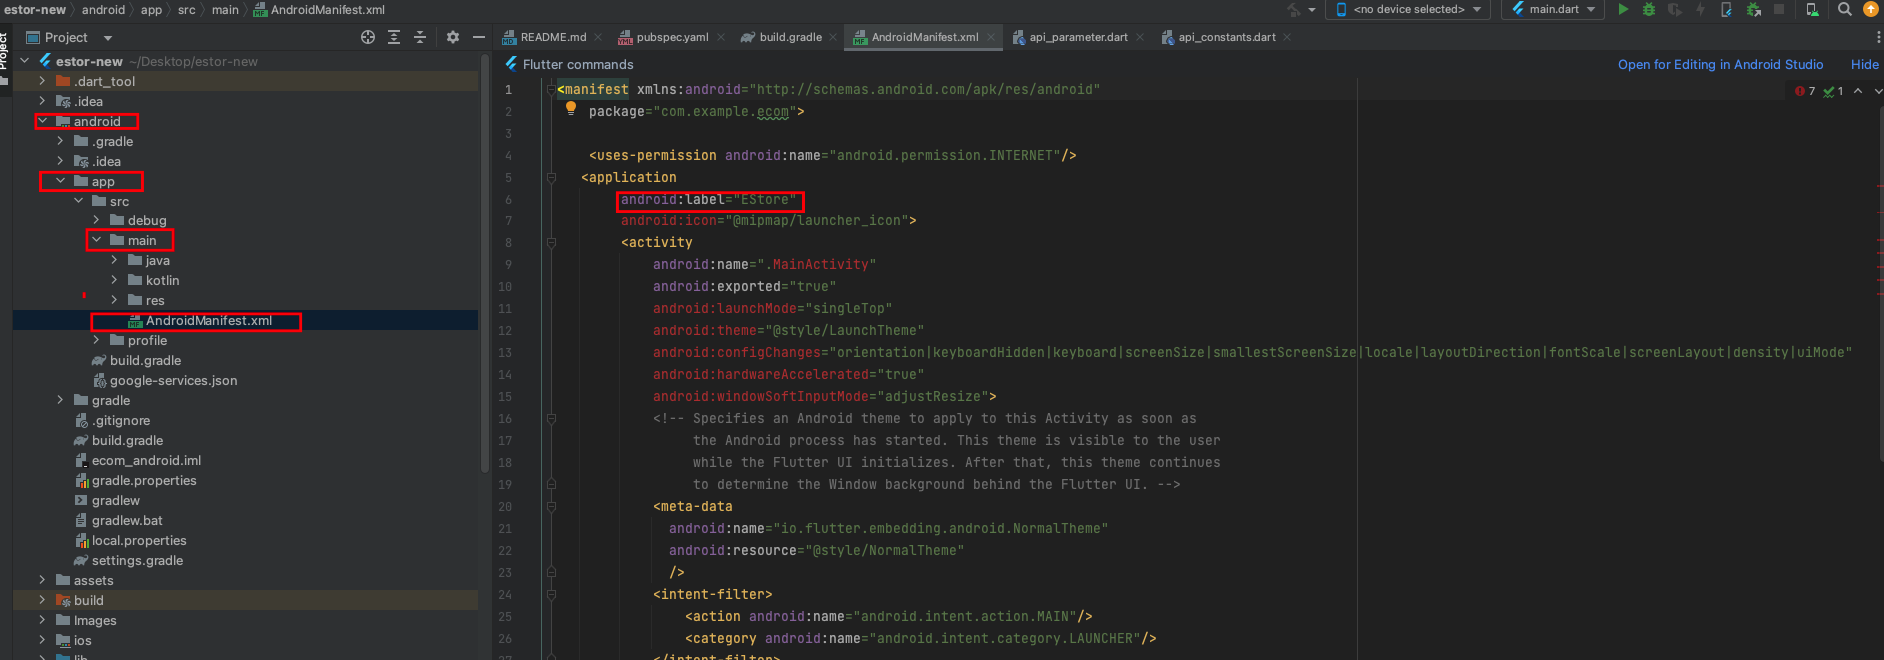
How to change AppName
- For Android, to change label that is shown below android app icon, open android > app > src > main > open mainfest.xml and inside that label change that string as shown in below fig.
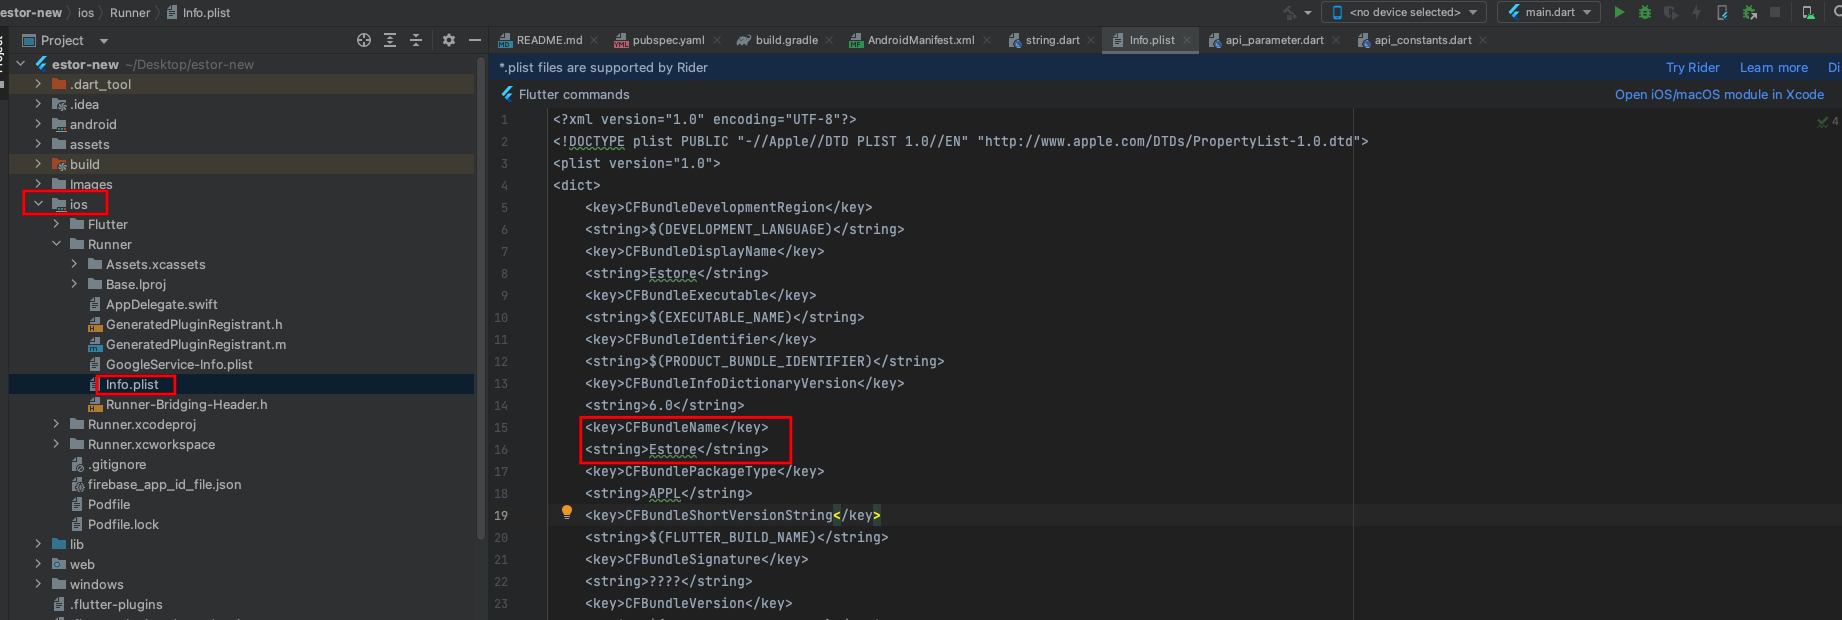
- For iOS, to change label that is shown below ios app icon, open ios > Runner > Info.plist inside that CFBundleName change that string as shown in below fig.
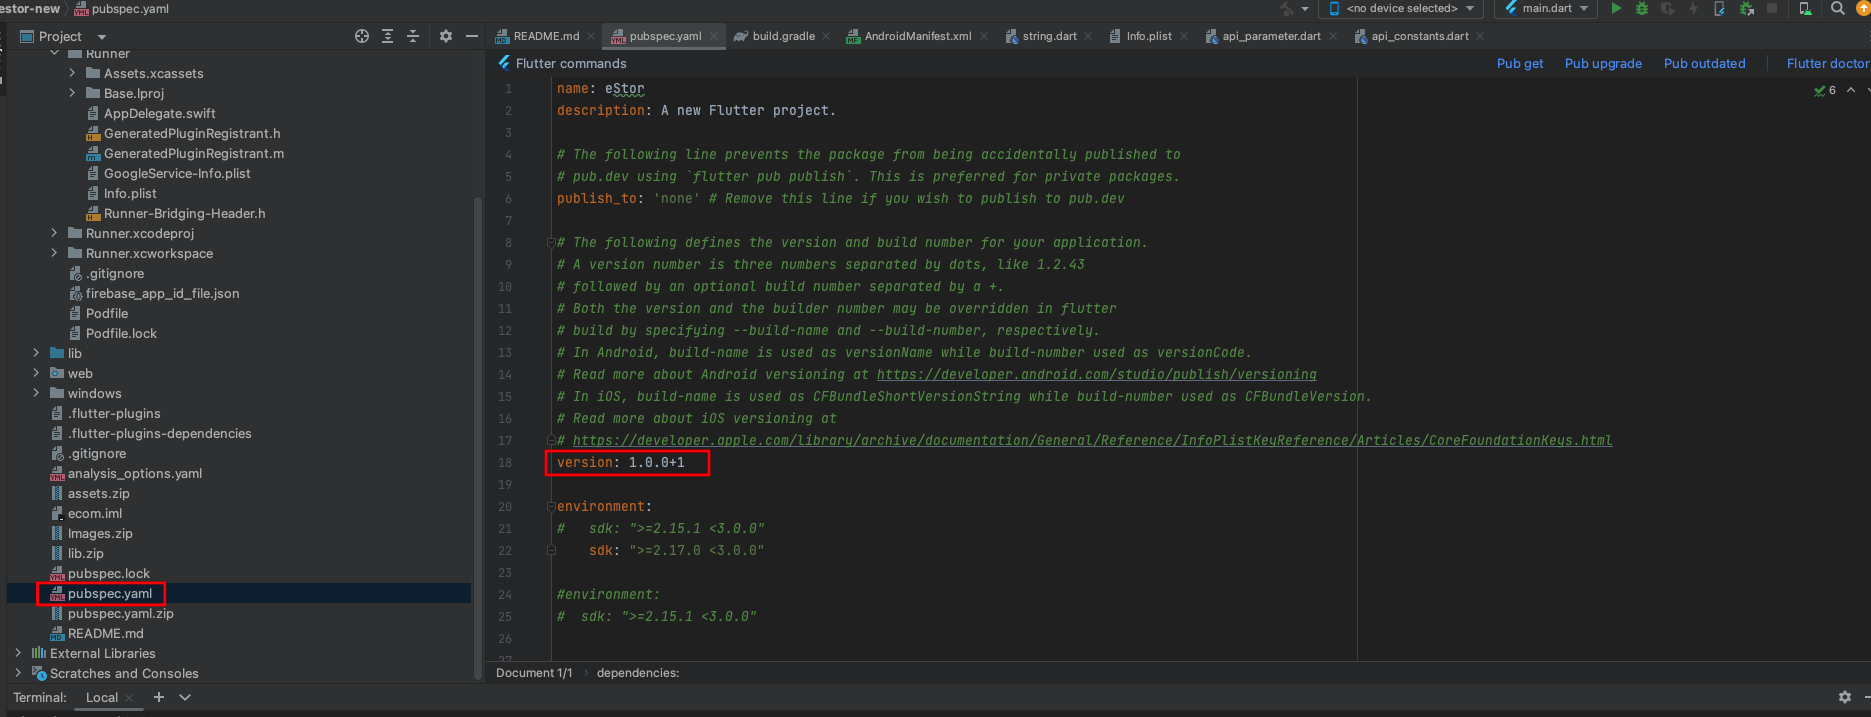
How to change App Version
- go to pubspec.yaml
- EX.Update version:A.B.C+X in pubspec.yaml.
- For Android: A.B.C represents the versionName such as 1.0.0. X (the number after the +) represents the versionCode such as 1, 2, 3, etc.
- Do not forget to execute flutter packages get, flutter build or flutter run after this step
- For iOS
- A.B.C represents the CFBundleShortVersionString such as 1.0.0. X (the number after the +) represents the CFBundleVersion such as 1, 2, 3, etc.
- Do not forget to execute flutter packages get, flutter build or flutter run after this step
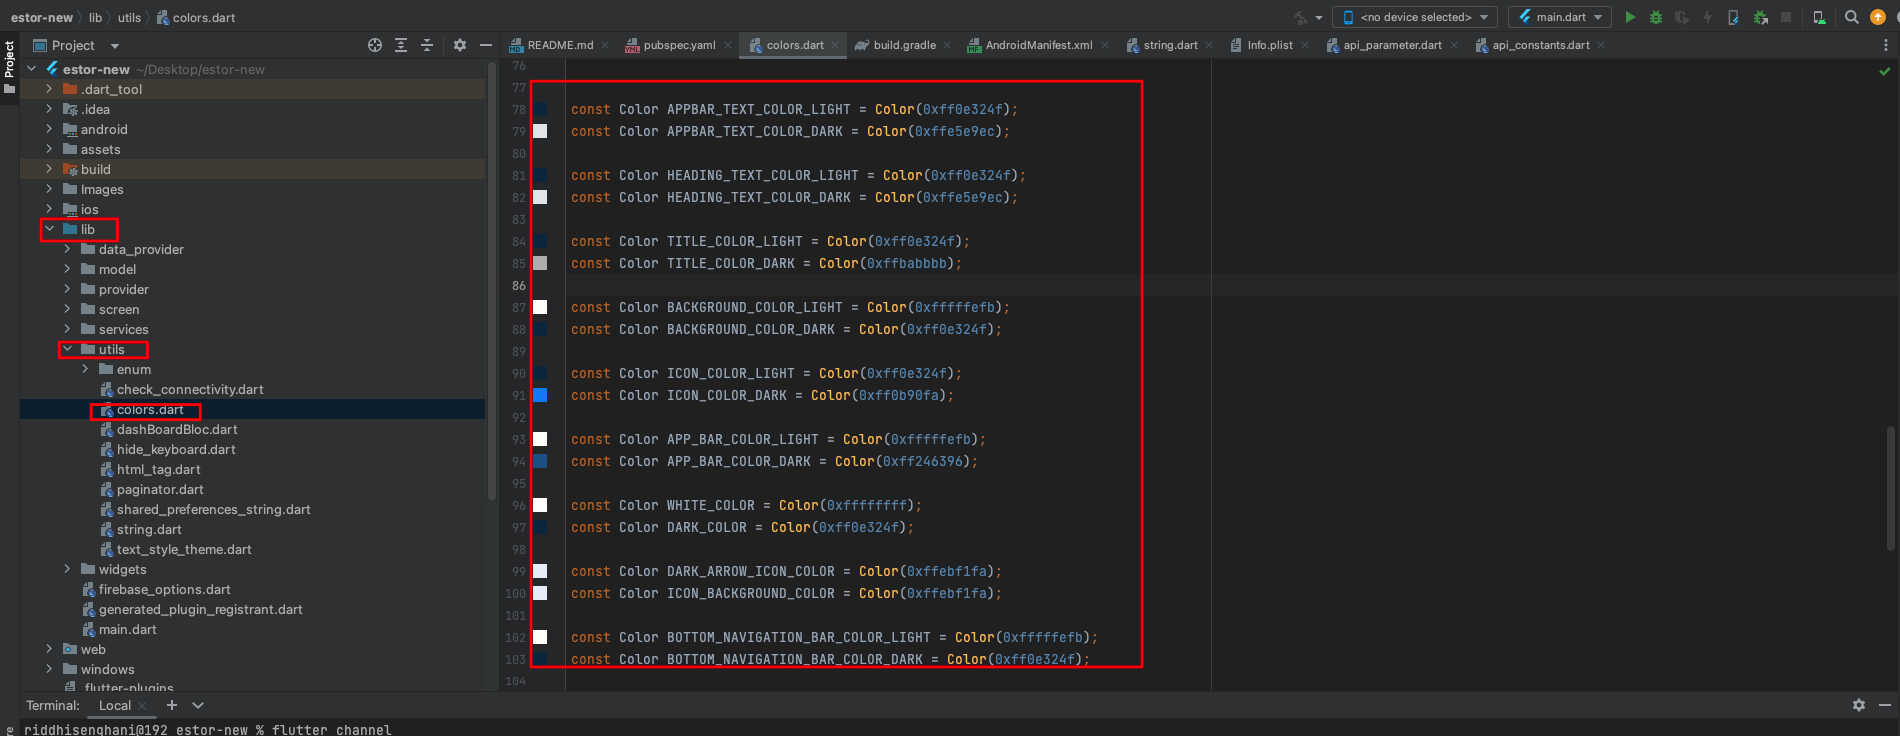
How to Change app color
- To change app color, your need to add your color code in lib > utils > colors.dart
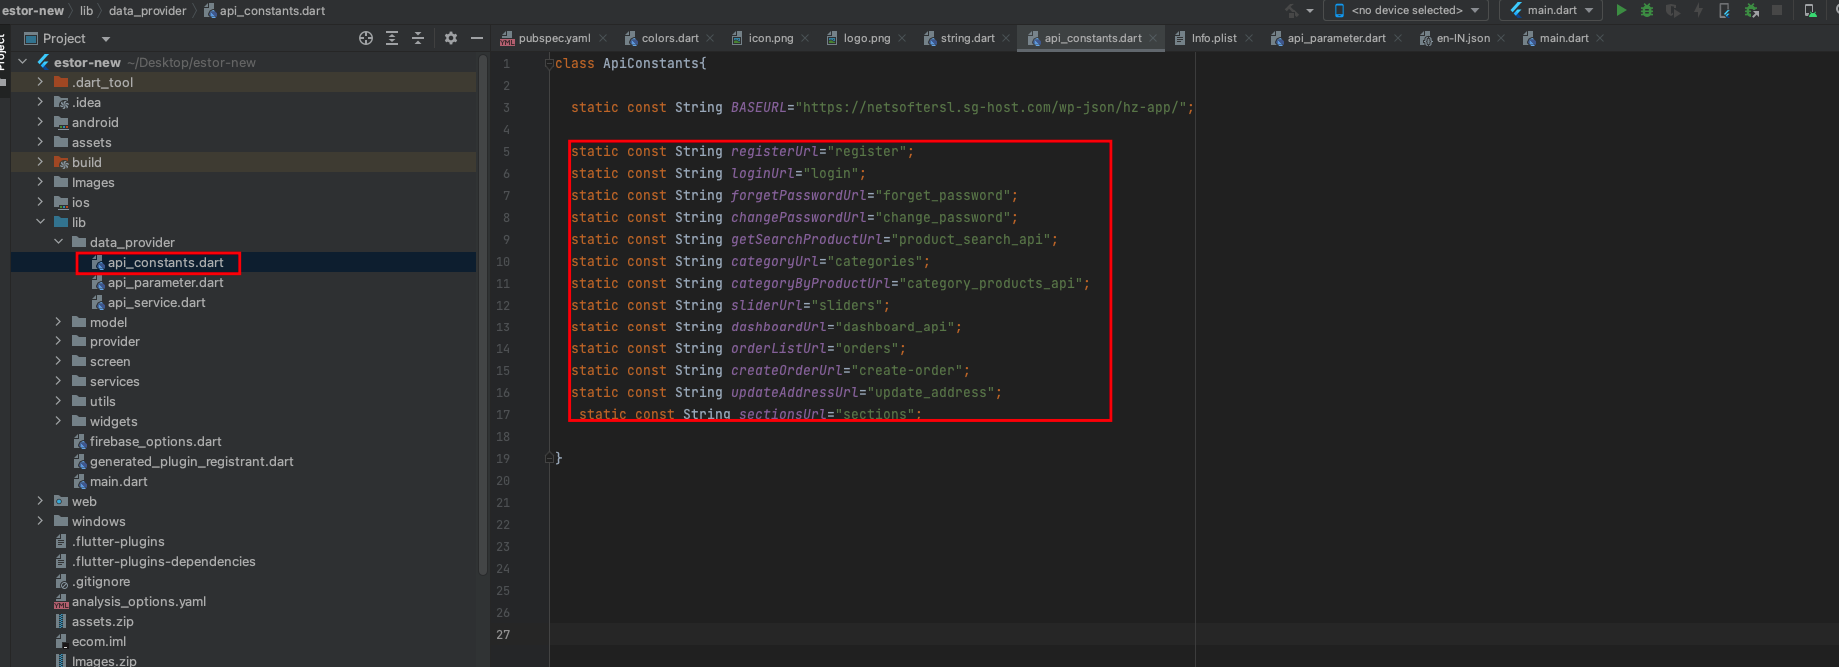
How to Change Base url
- Go to lib > data_provider > api_constants.dart here you have to change your API Base url.

How to change package name
- for android\app\src\build.gradle
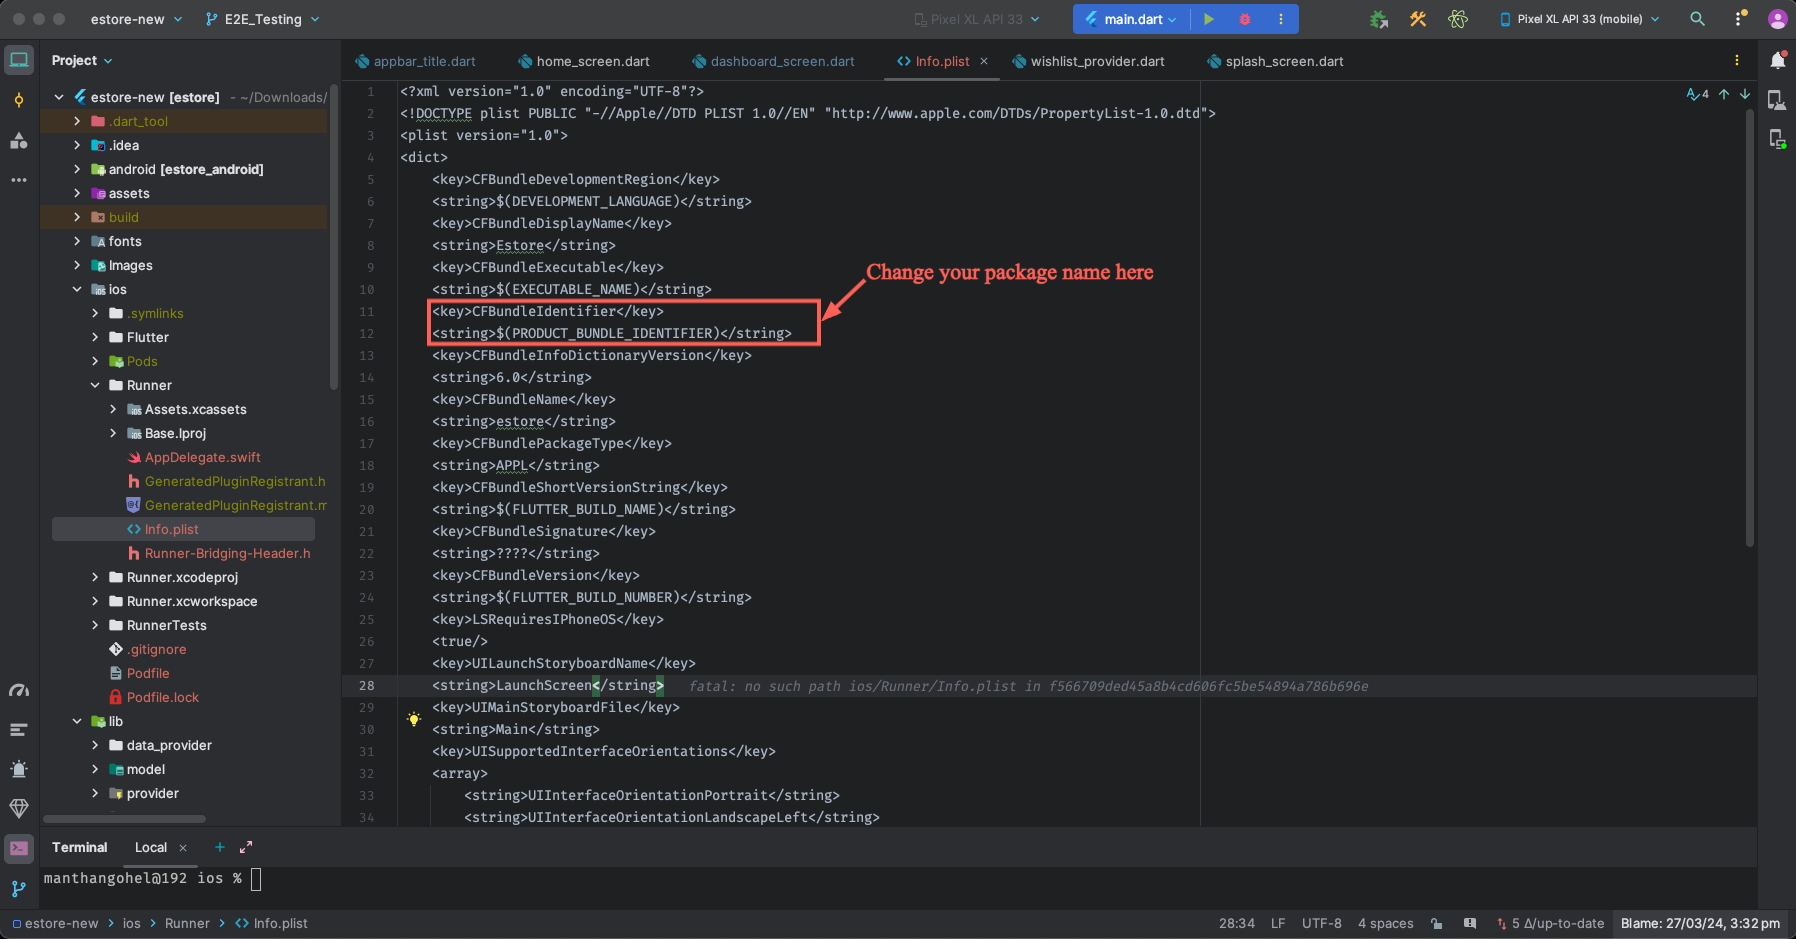
- For ios you have to firstly go to the ios folder and after that you can get the Runner folder in the info.plist file in you can change the package name.
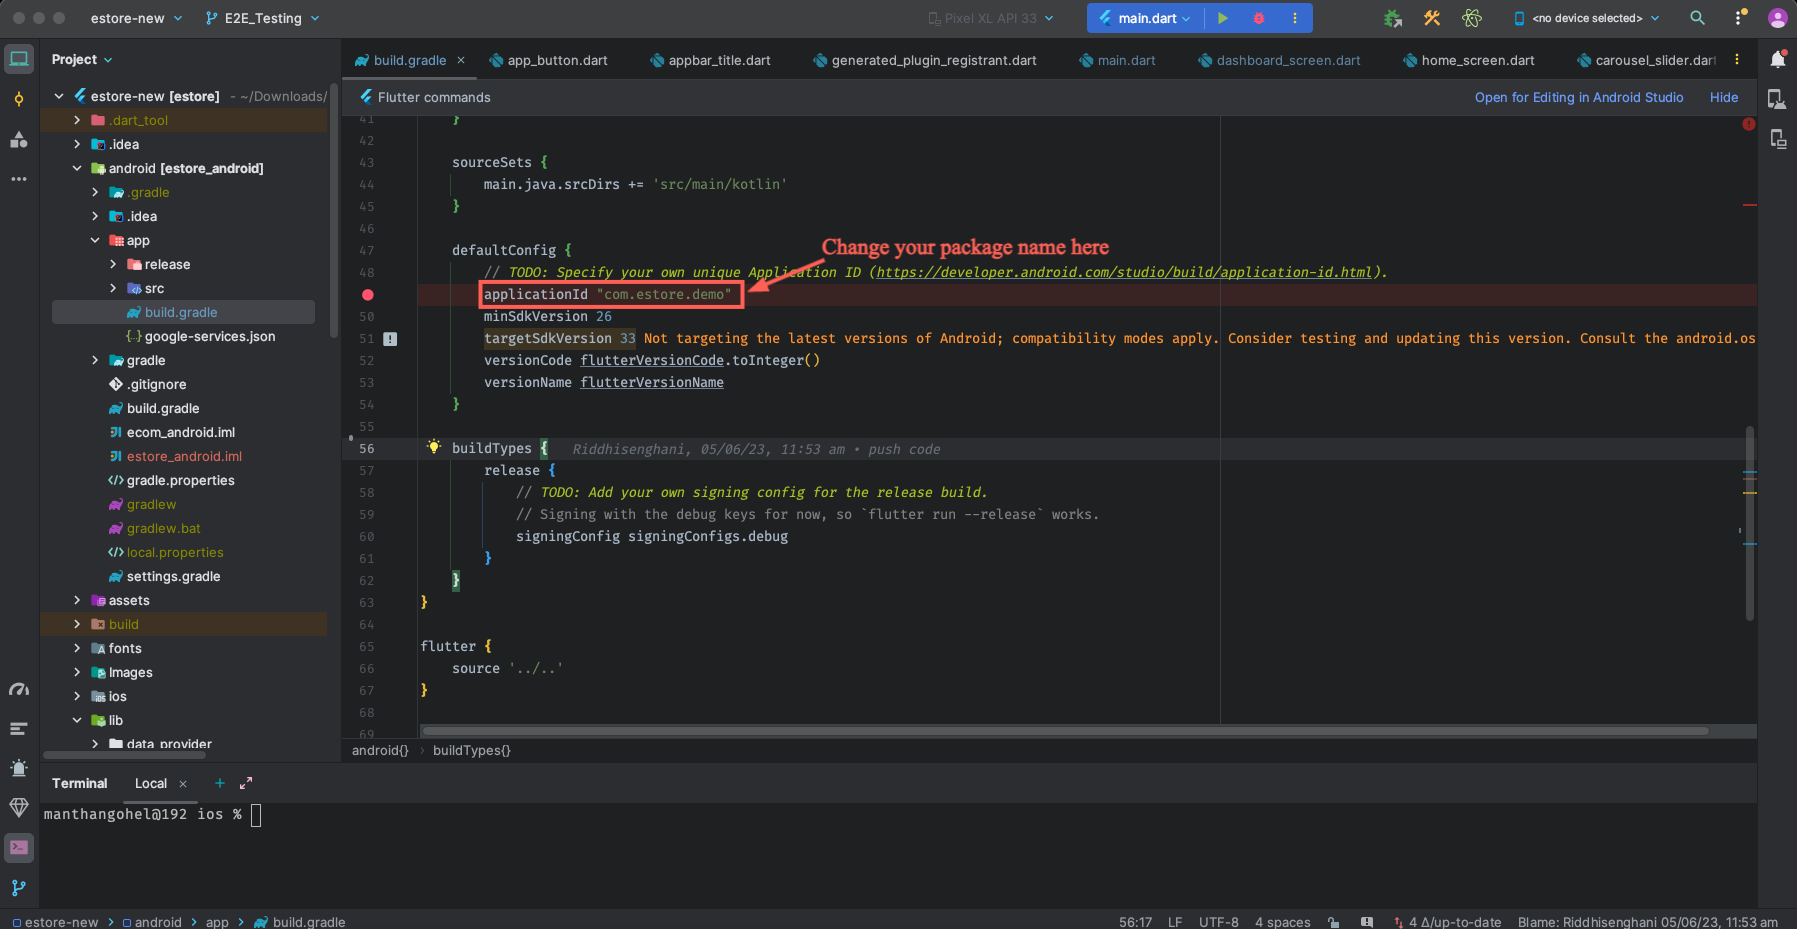
in build.gradle package name com.estore.demo if there is search in android folder you can replace in your package name.
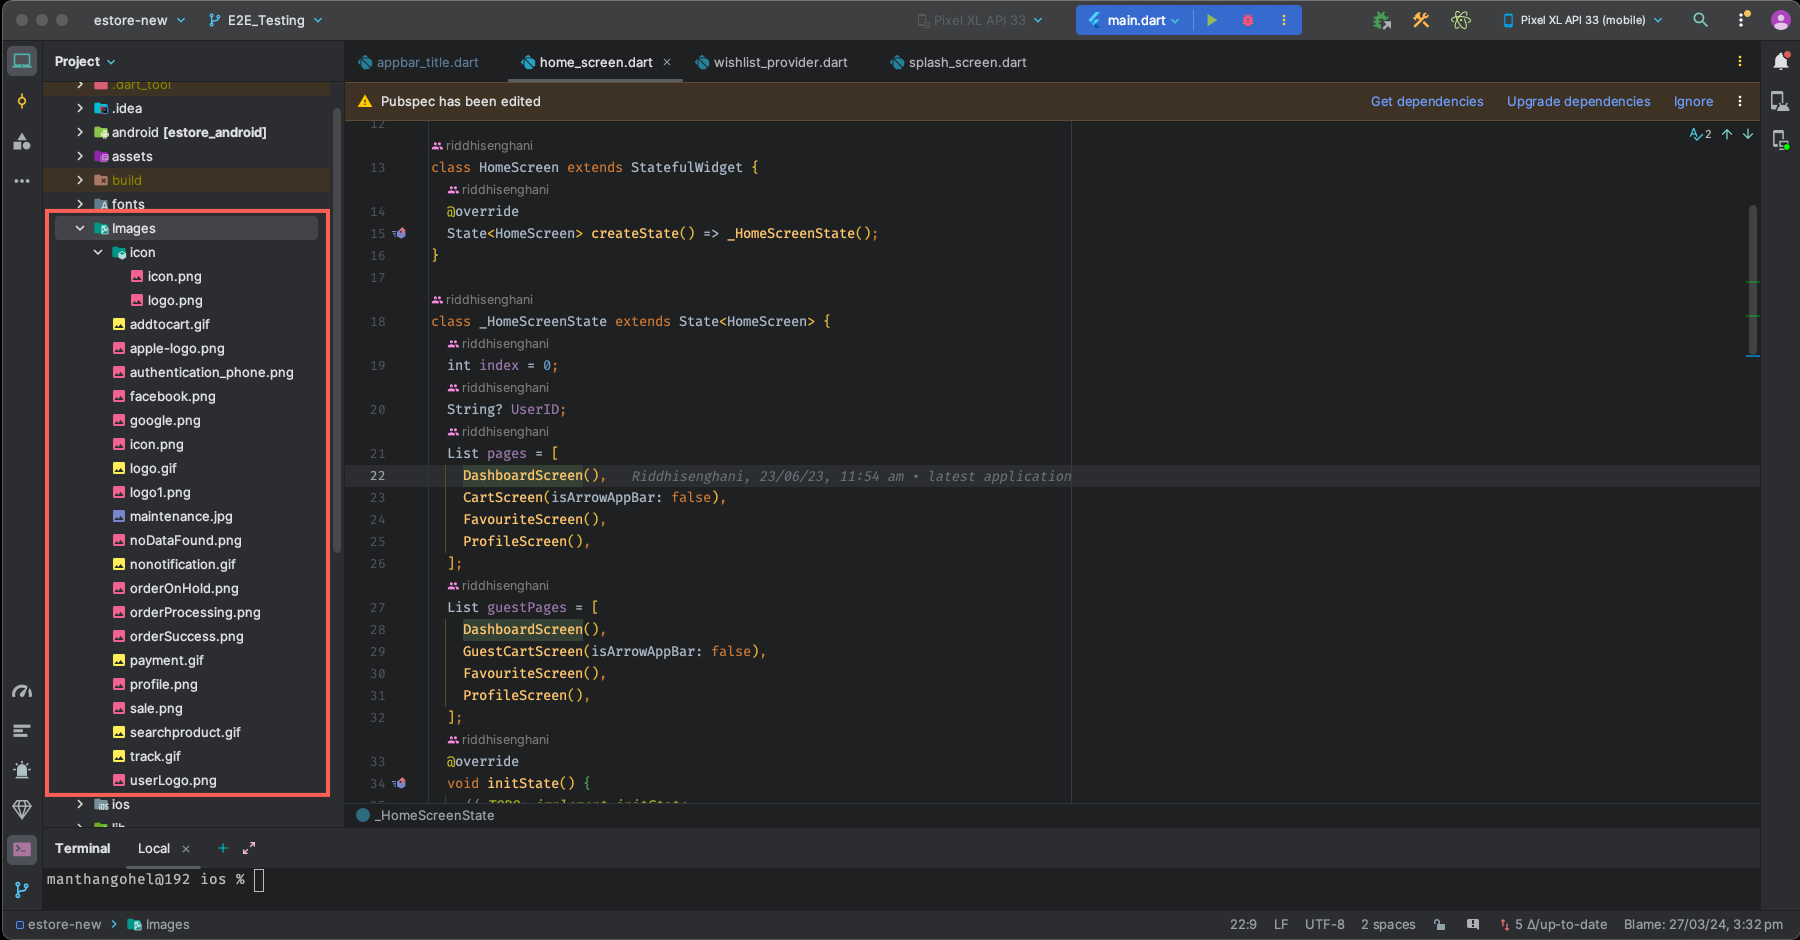
How to Change Images in app
- Go to images > here you have icon and images folder. you can change your image to exist image with same name.
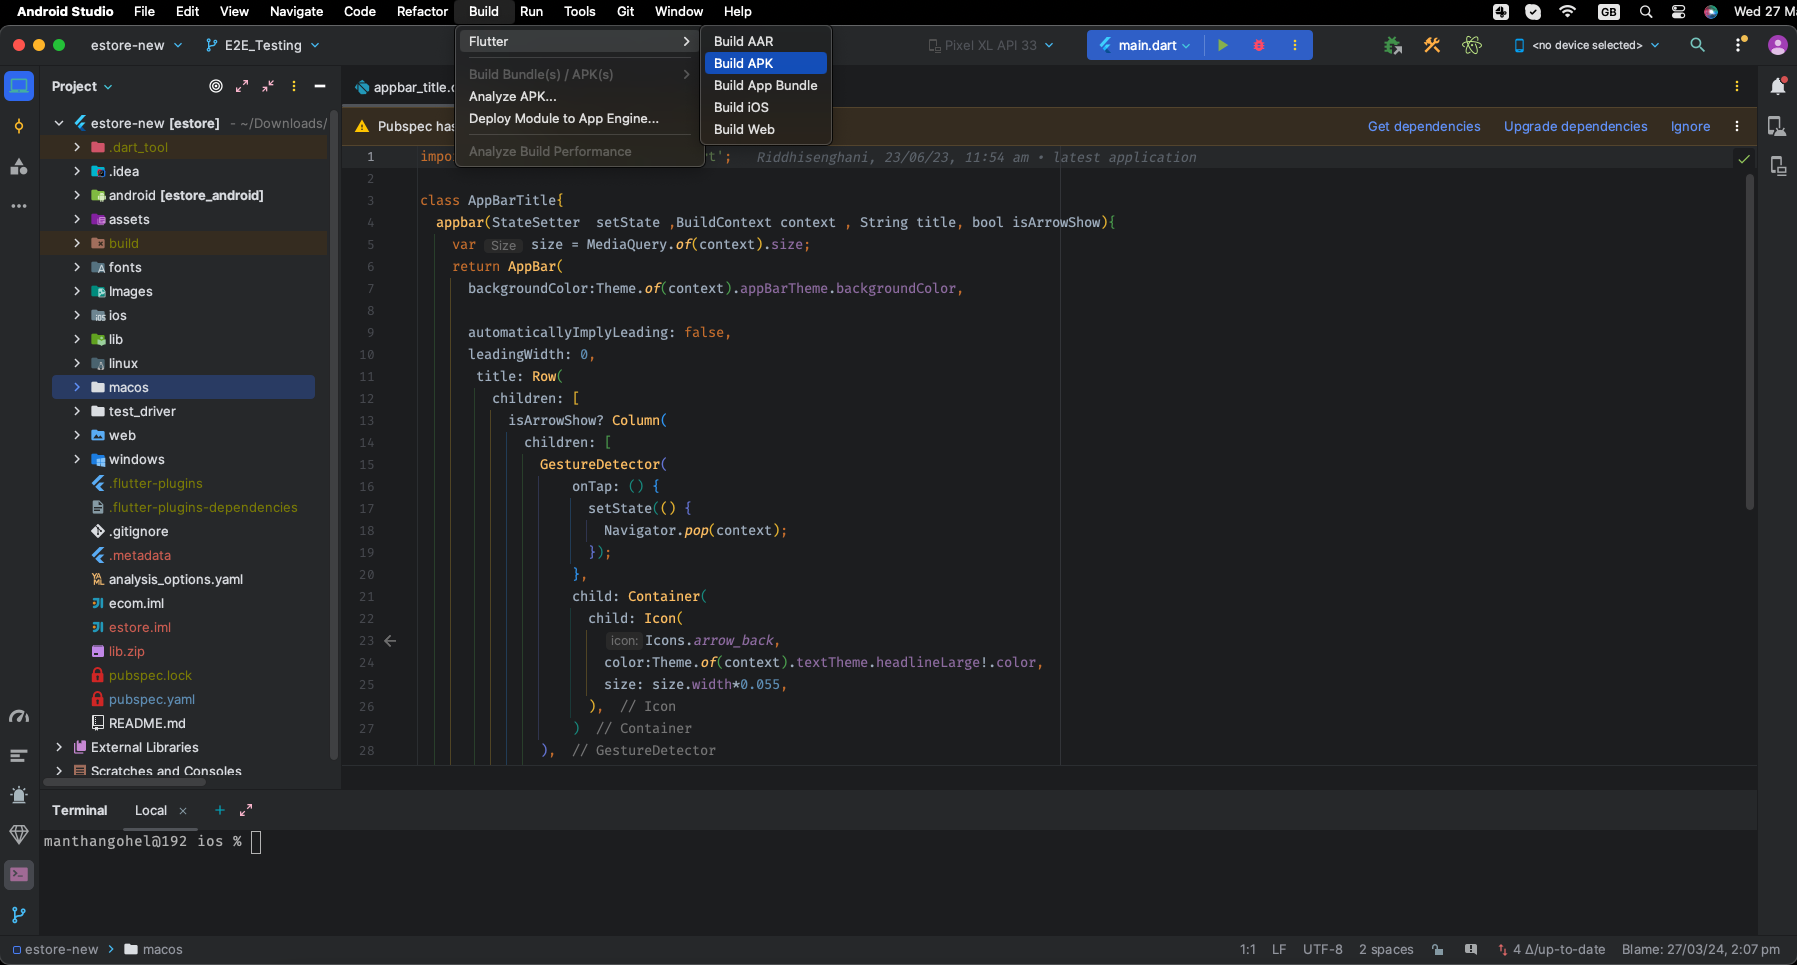
How to generate release apks
- In you android studio, click on build > flutter > Build Apk you can genrate Apk.
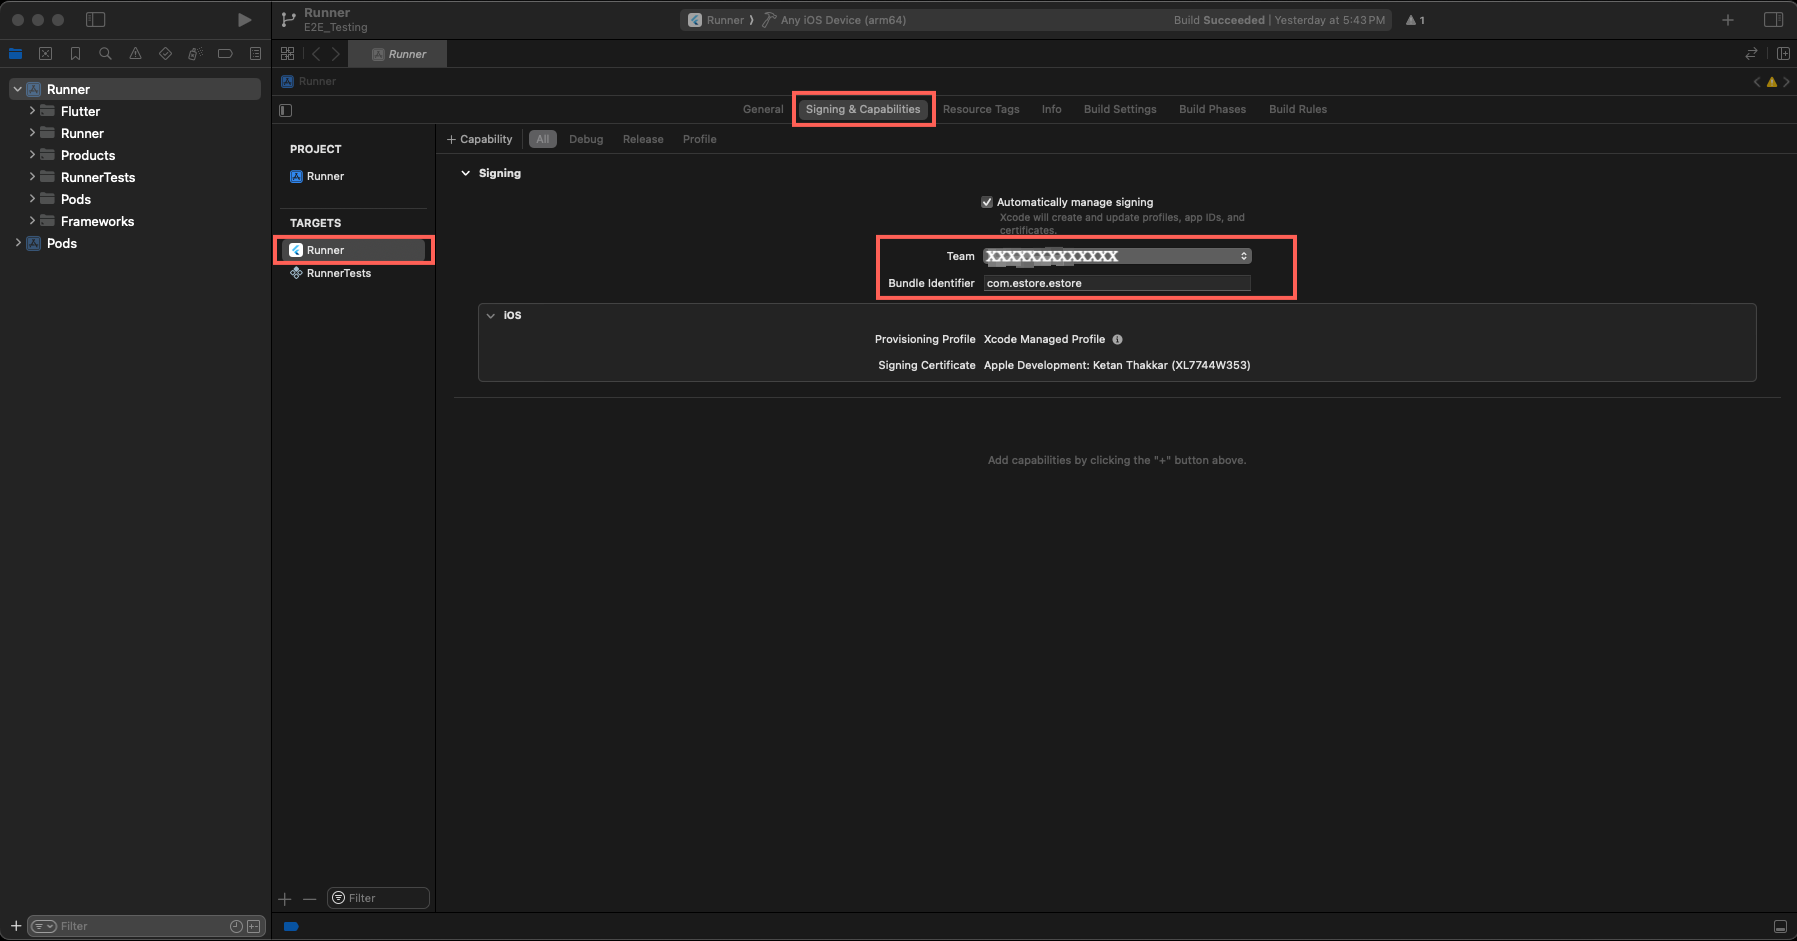
Steps to Publish iOS App to App Store
- Open your Project's Runner.xcworkspace file in Xcode, and Add your Team [Your Apple Developer ID] and also Insert GoogleService-Info.plist file [Downloaded From Firebase Project] inside folder named Runner.
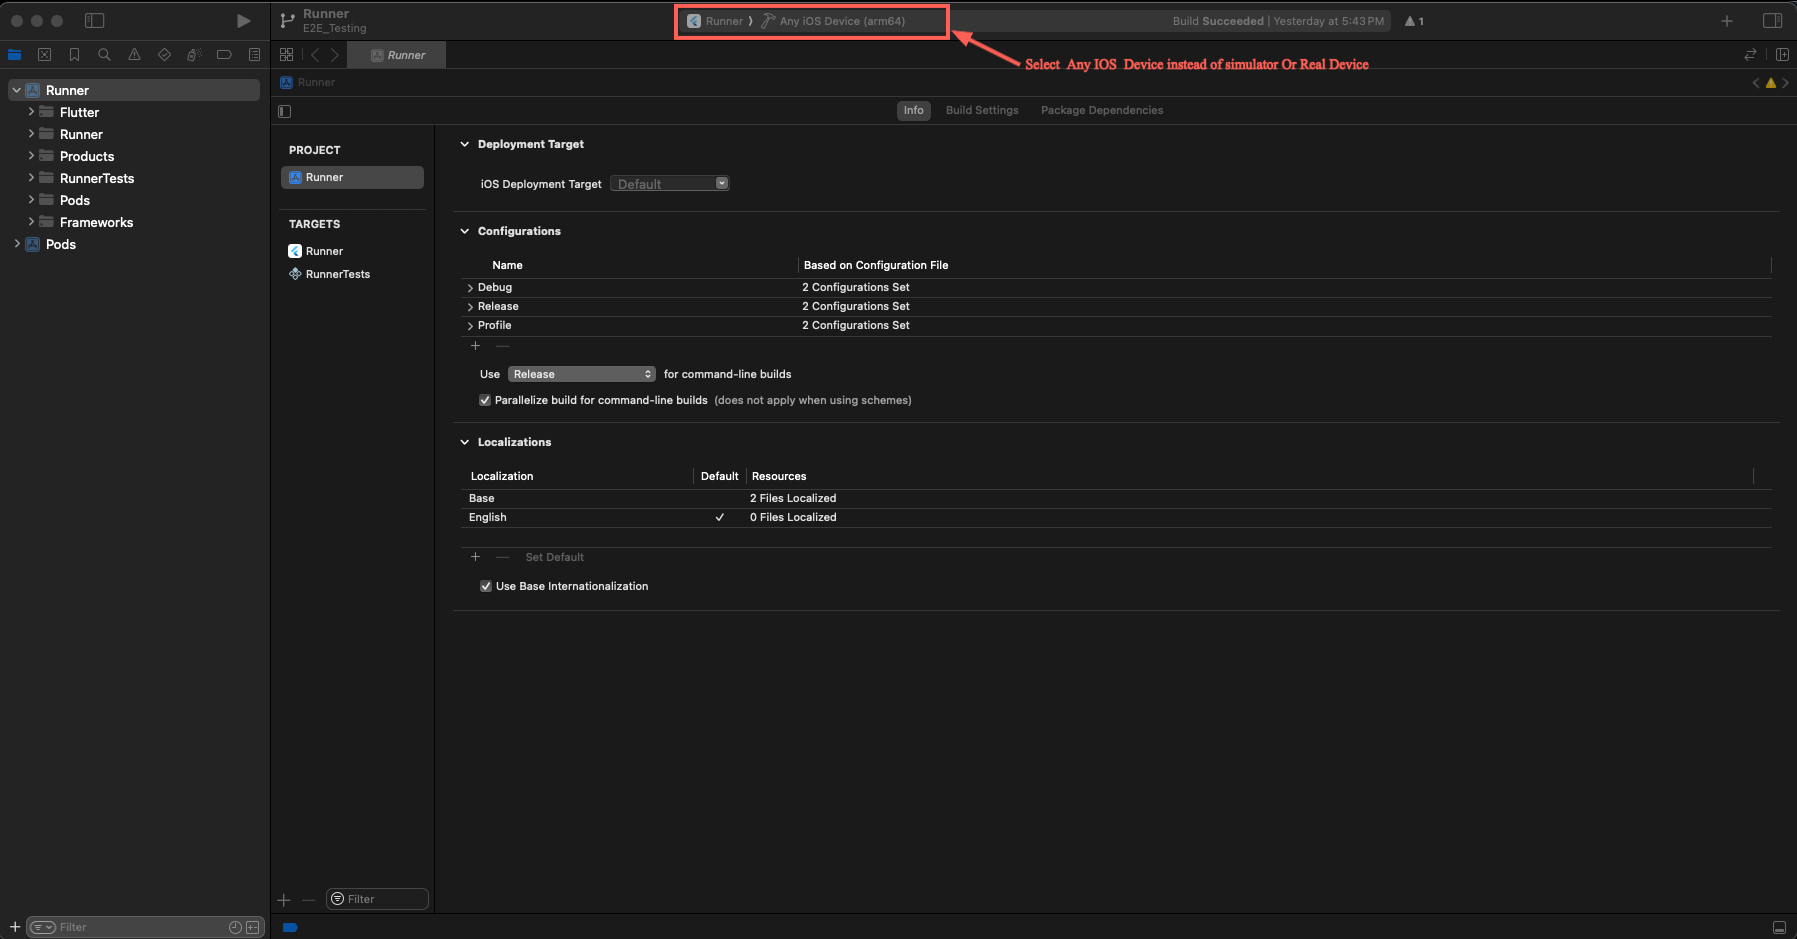
- and then Select Any iOS Device (armv7,arm64) as shown in image below.
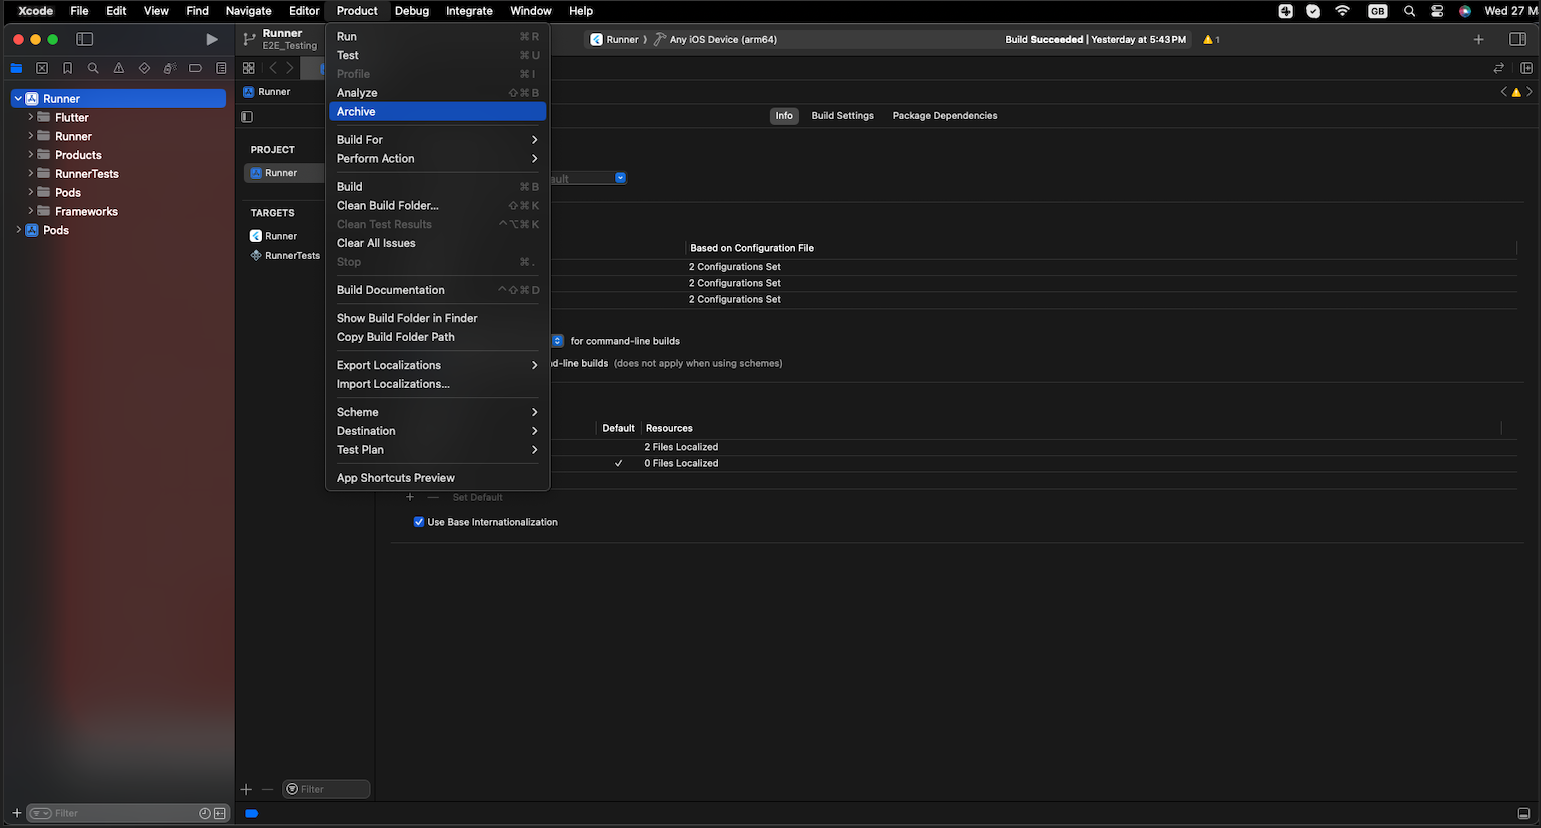
- After that Select Archive From Product Menu of Xcode as shown below.
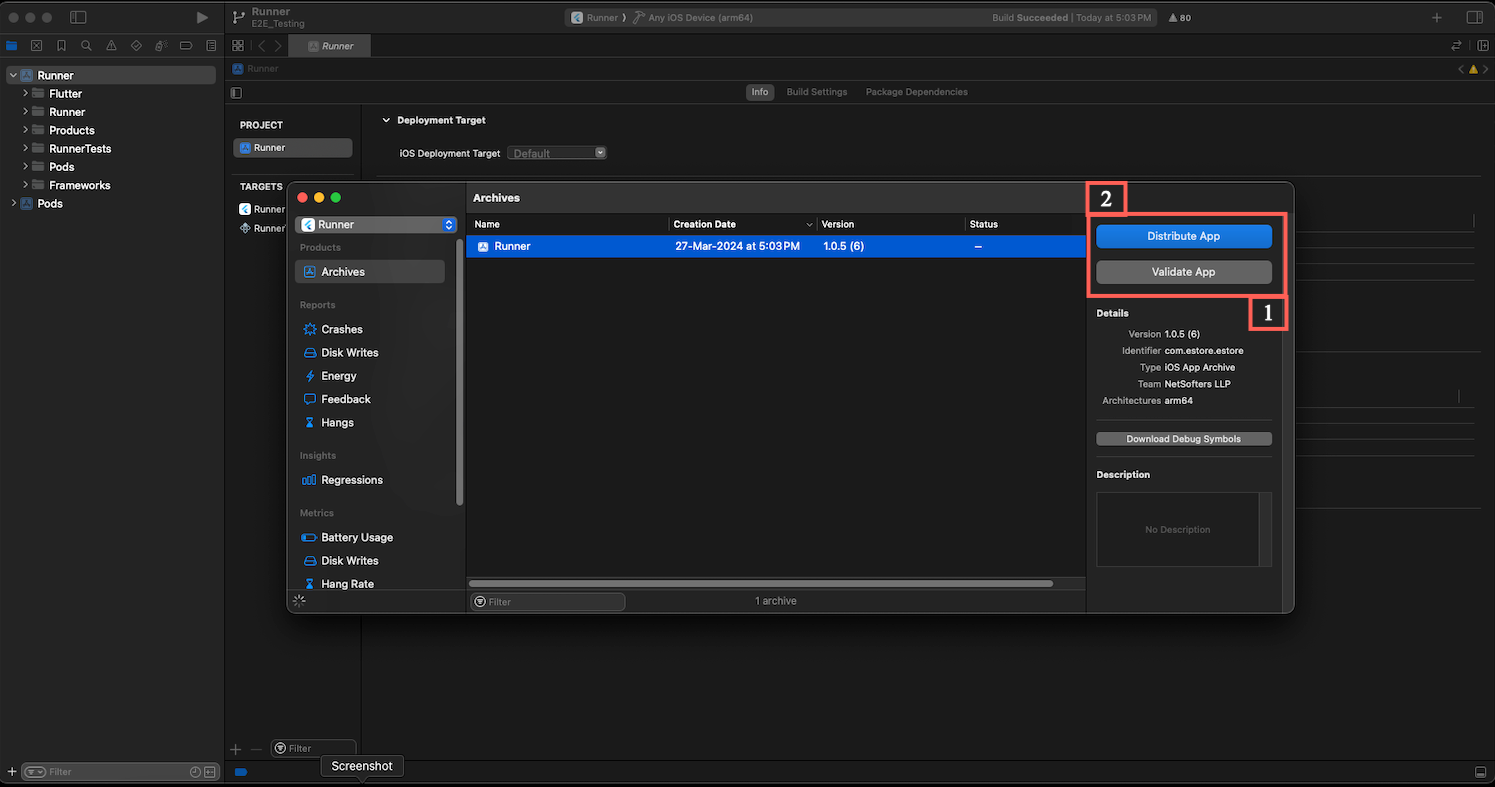
- Once Build / Archive Generated, pop up window will be shown. Validate app First, and After Successfull Validation of App, You Can Distribute App to AppStore.
How to Change Api Parameter
- You can change or add api parameter from lib > data_provider > api_constants.dart here all list of api and api paramater is listed that is used in app.
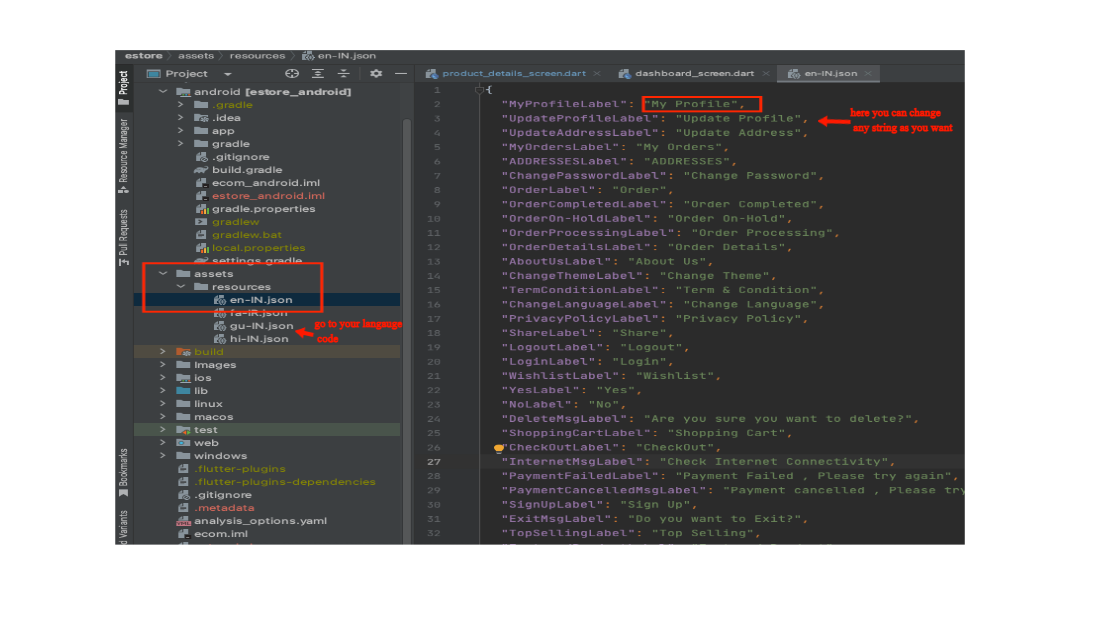
How to Change language String value
- Go to assets > resources > go to your language code.here you can change any string as you want
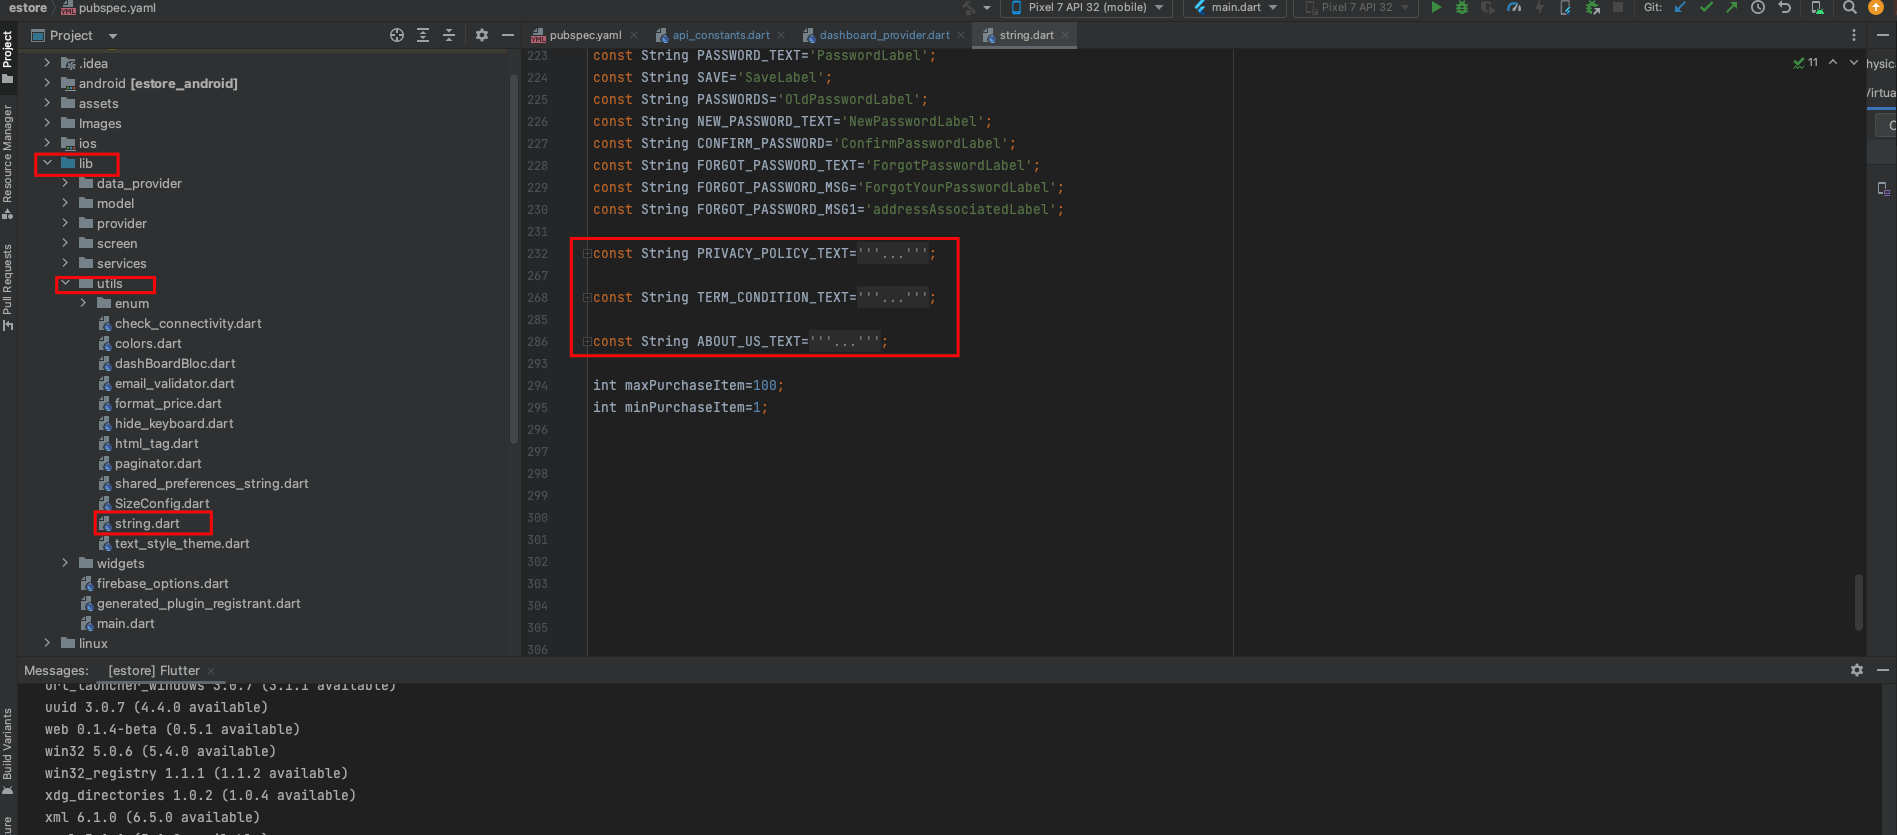
How to Change Privacy Policy & Terms and Condition & About Us
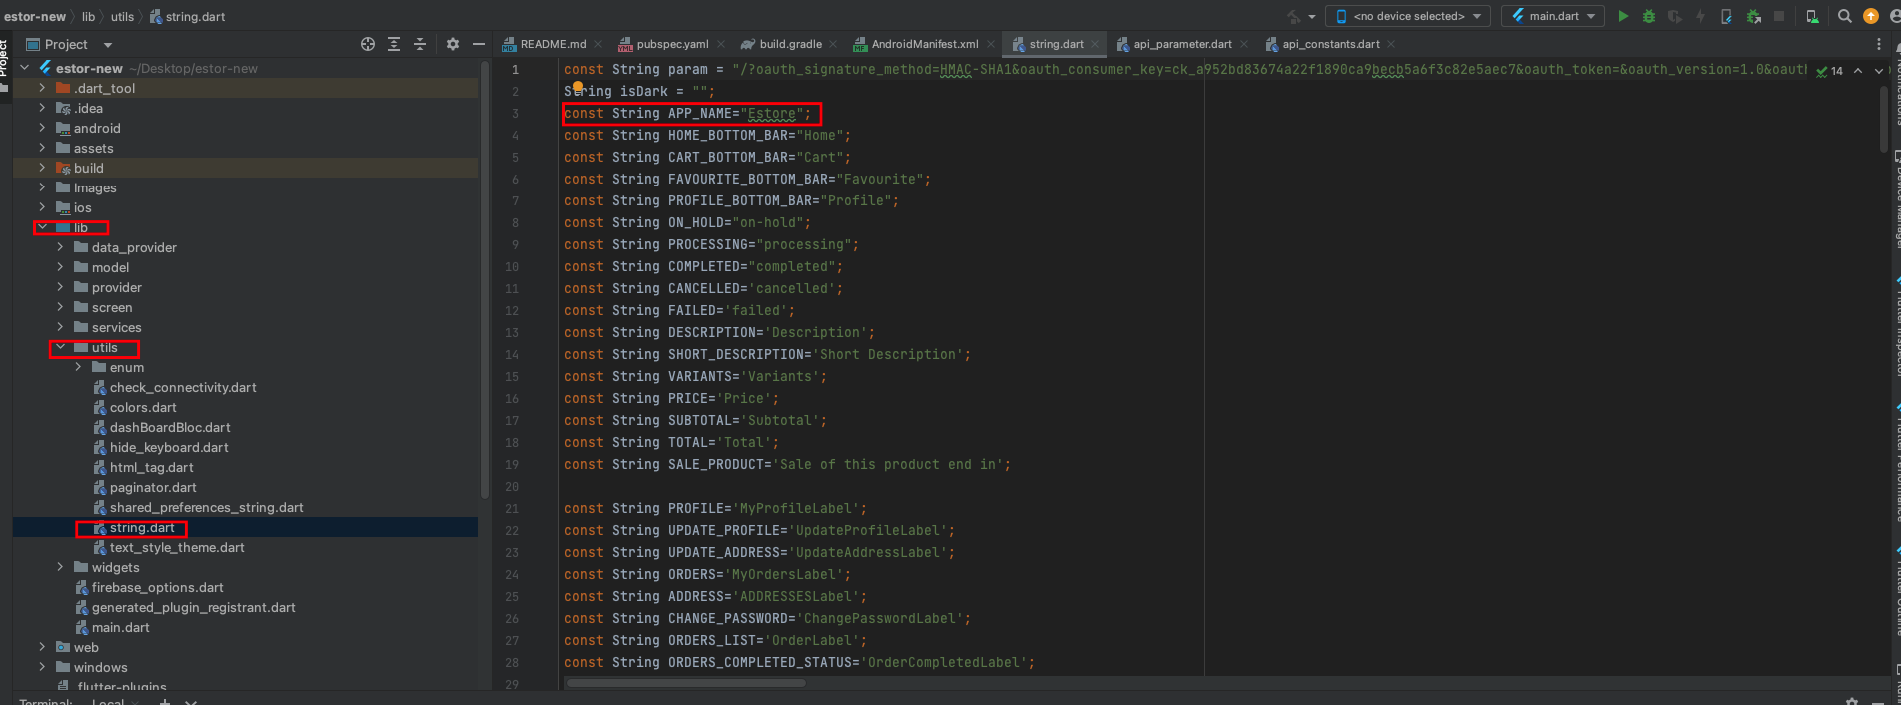
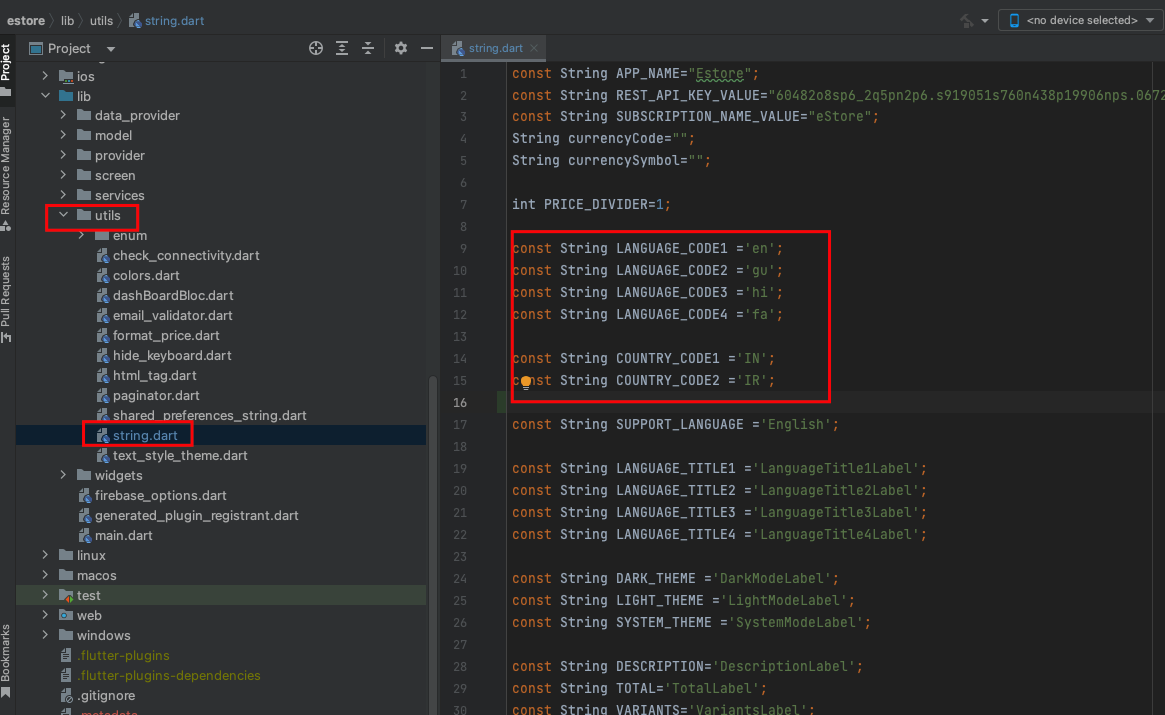
- Go in the project > lib > utils > string.dart here you can change.
If you want to Change the Privacy Policy & Terms and Condition & About Us in App.
How to Add language
- To Add New Languge
- Go to lib > main.dart > add to new langauge.
If you want to Add new language then copy one json file from resources folder and add it to resources folder then rename it to language code - country code of your new language
now open that json file and change value of string to your language string. remember here you need to add all string in file if any one string is missing in any file then when you change that language then it will give you error. so add all string in all json file.
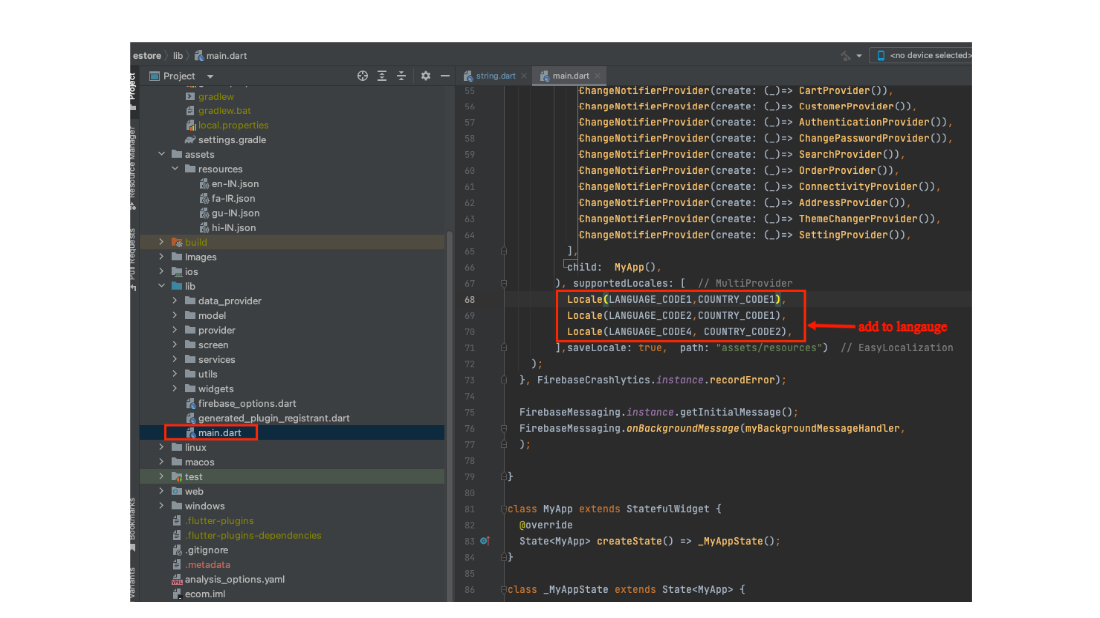
.if you change languge code (LANGAUGE_CODE1) and country code (COUNTRY_CODE1) please follow tha next step
How to Change App font
- Go to Assets > font folder .here you have to copy your font.now go to pubspec.yaml in font section change your font name as shown in below image.

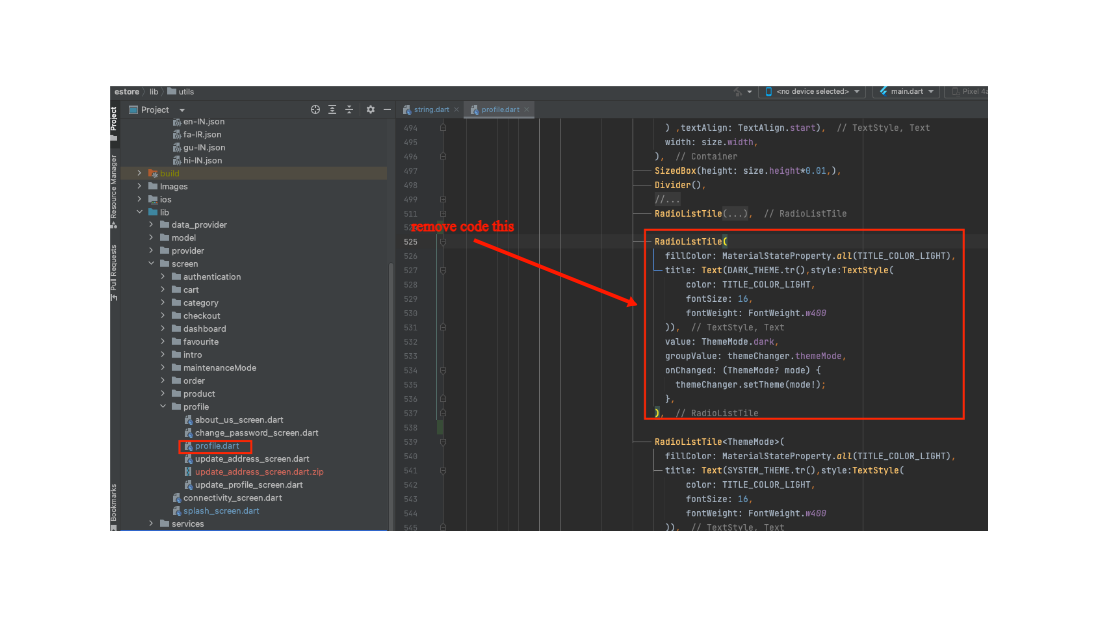
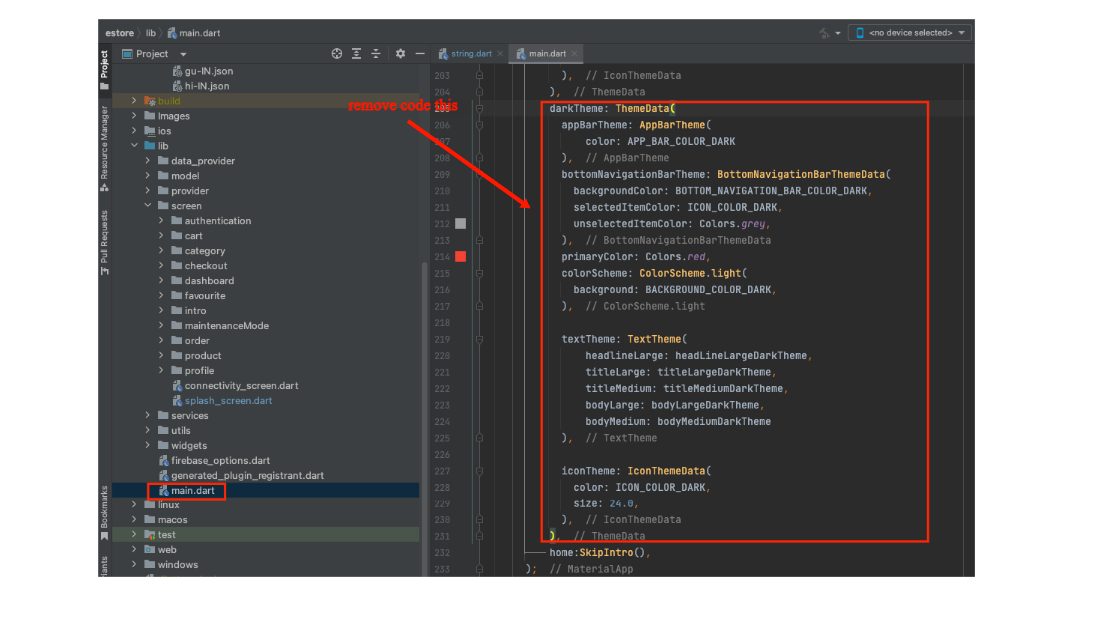
How to remove dark theme
- Go to lib > screen > profile > profile.dart > you can remove dark theme
- Go to lib > main.dart > you can remove dark theme
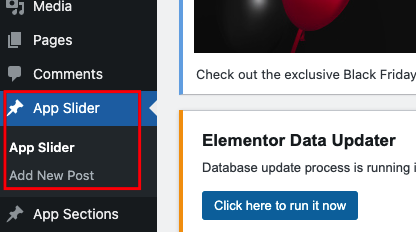
How to add slider
- Click on the app slider and if you want to create new slider click add new post option
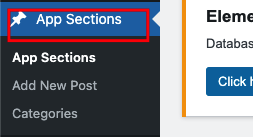
- Click on the app section and you have need new section so click add new post
How to setup jwt authentication Plugin
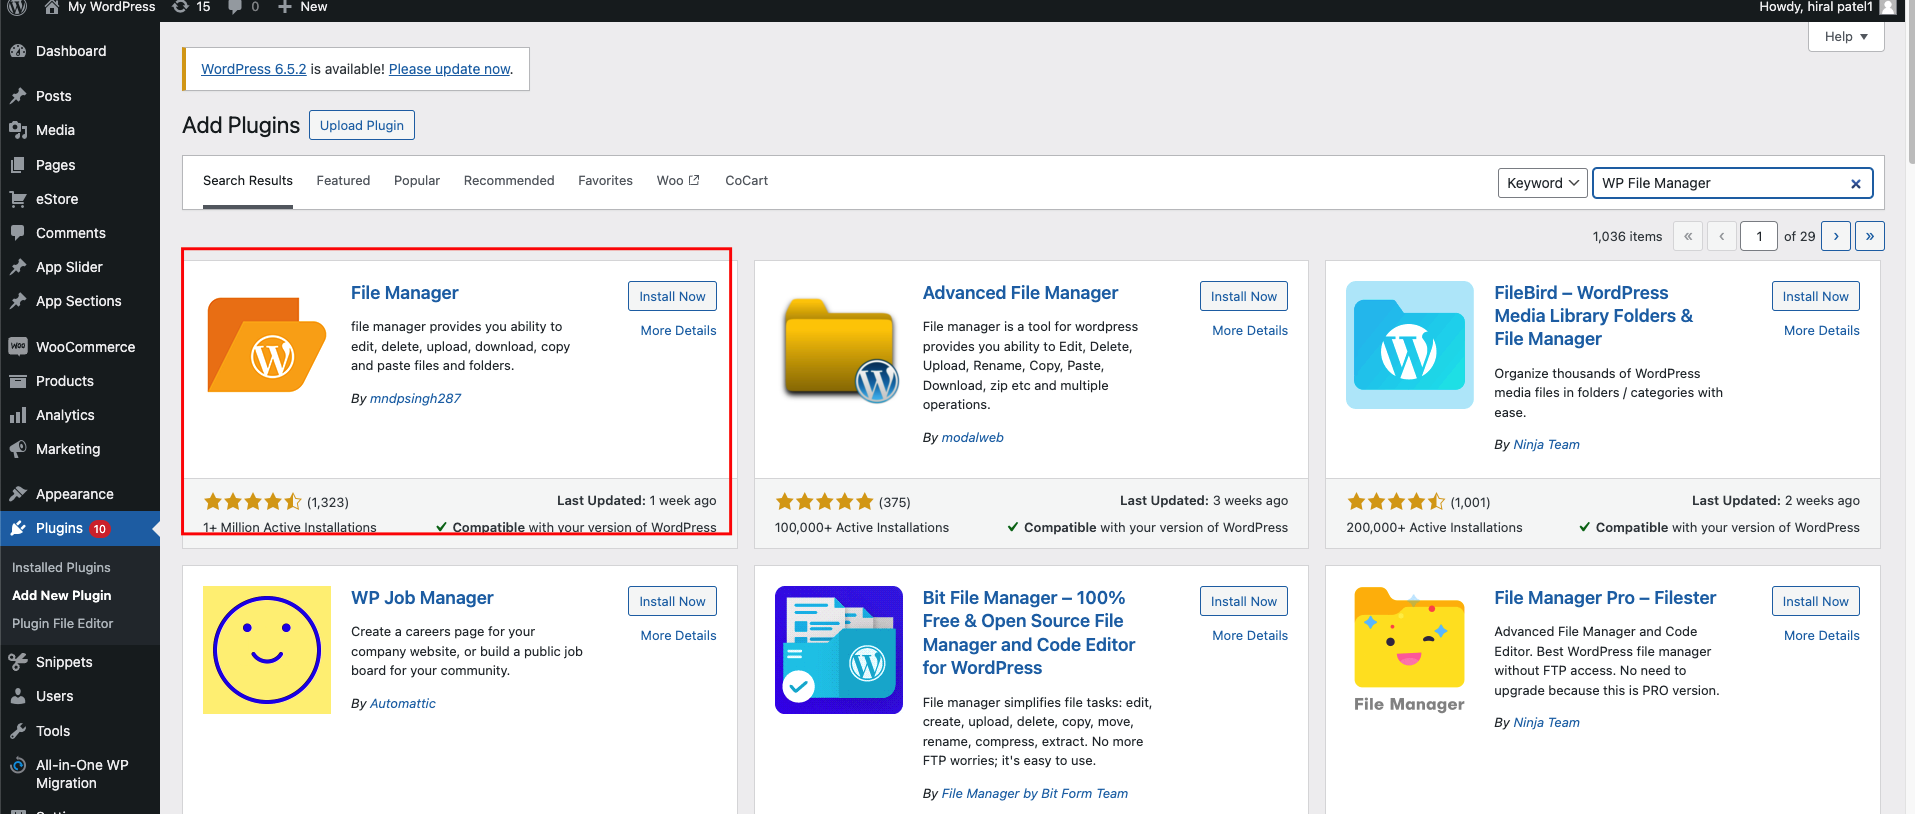
- first You click add new plugin
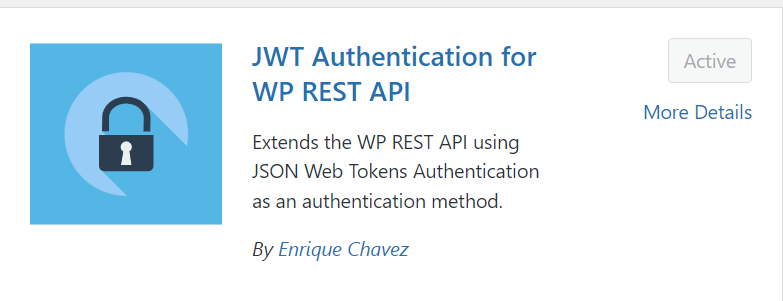
- you search jwt authentication Plugin
- Click on Install and after active plugin
- Go to the wordpress and in sidebar Plugins > Add New Plugin click on after you can search plugins as you want search & install
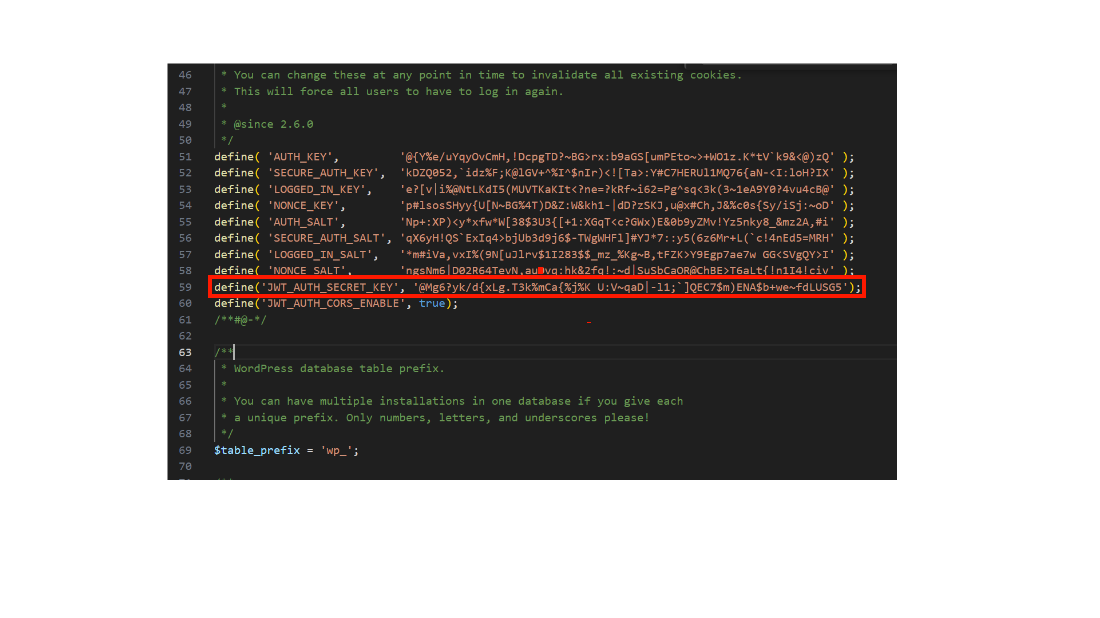
- After that File Manager open Go to Folder name > wp-config.php file download.
- Downloaded the file and Put on the code wp-config file ('JWT_AUTH_SECRET_KEY', 'your-top-secret-key');
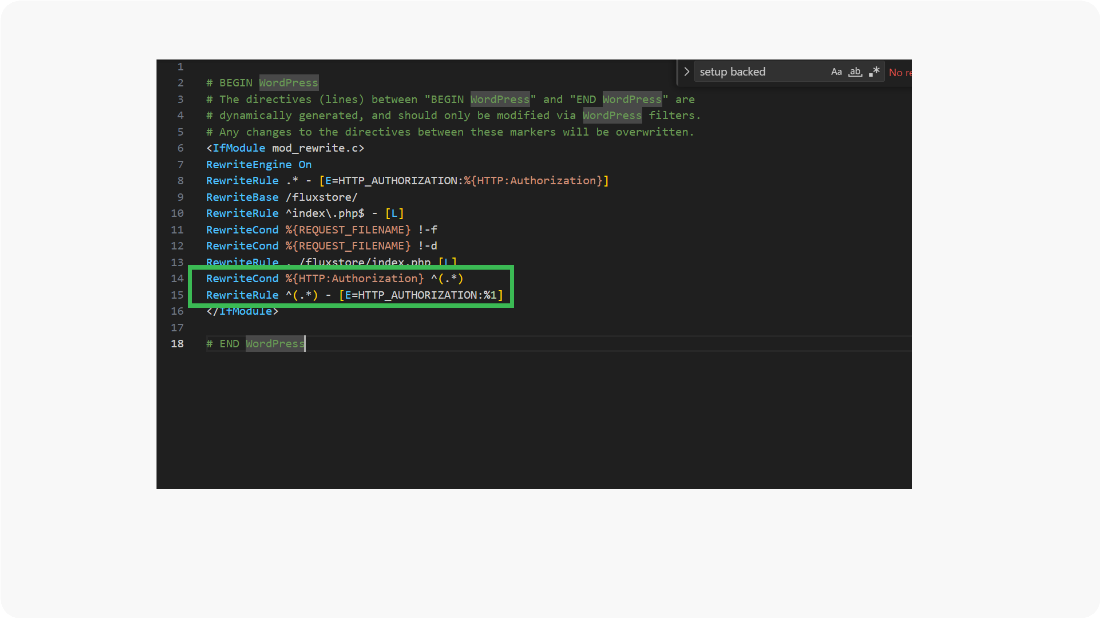
- Put on tha code htaccess file RewriteCond %{HTTP:Authorization} ^(.*) RewriteRule ^(.*) - [E=HTTP_AUTHORIZATION:%1]

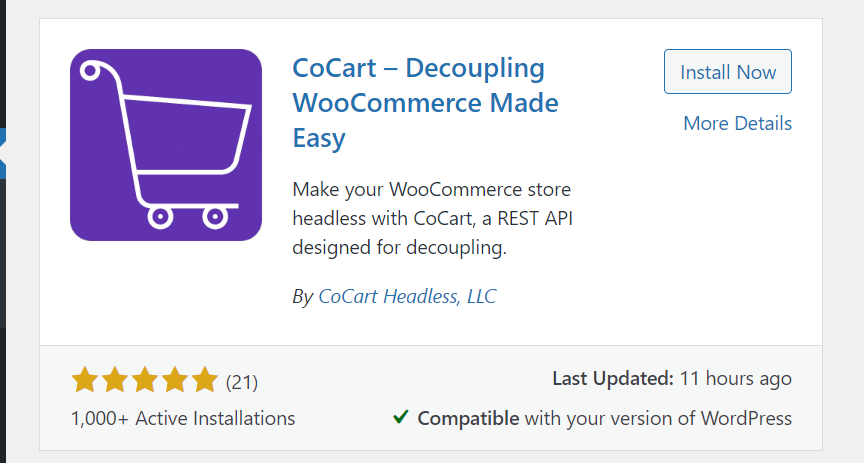
How to setup cocart plugin
- first You click add new plugin
- you search cocart Plugin
- Click on Install and after active plugin
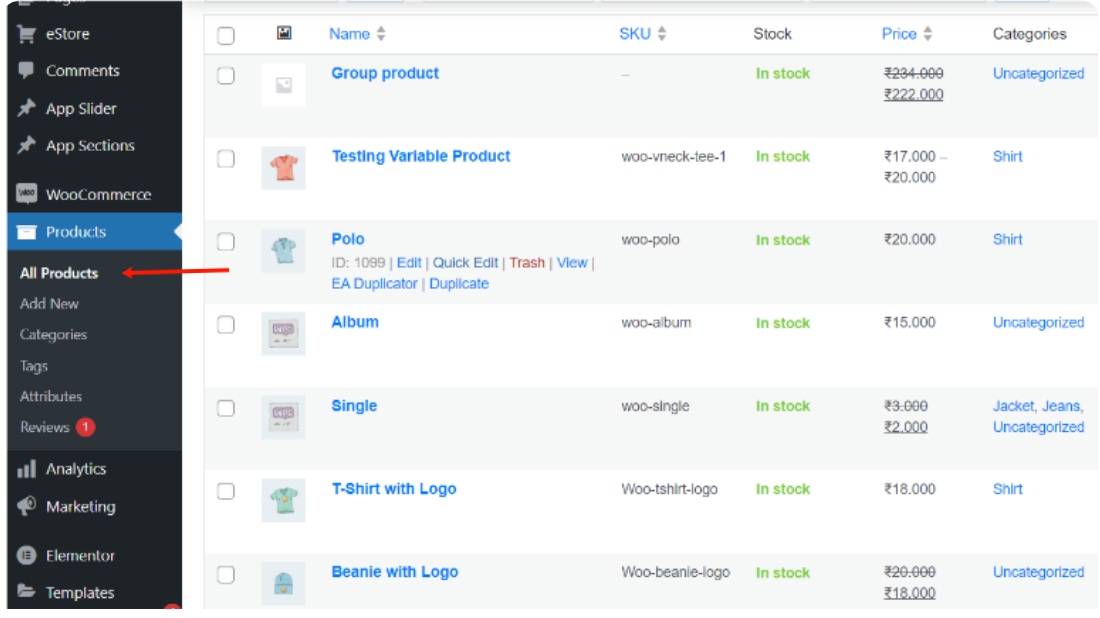
How to setup features Product
- first step You click product menu
- Second step all tha sub menu open after click all product
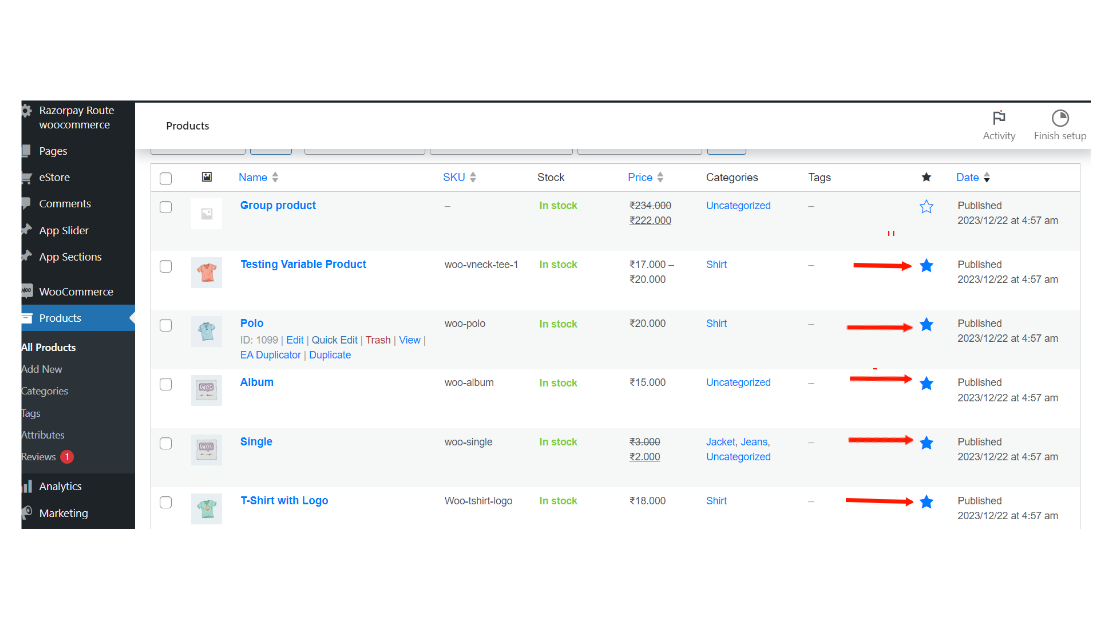
- You have to click on the star icon of any product you want to feature.
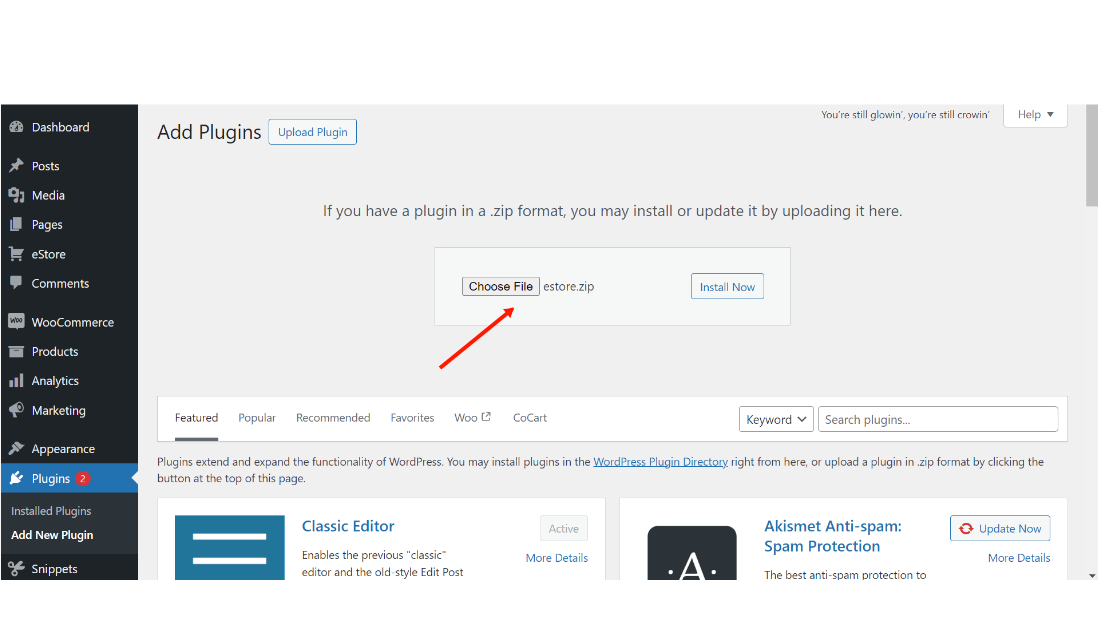
How to setup eStore plugin
- Click on Upload Plugin button found on top left corner of page.
- Select the .zip file of estore plugin
- Click install button
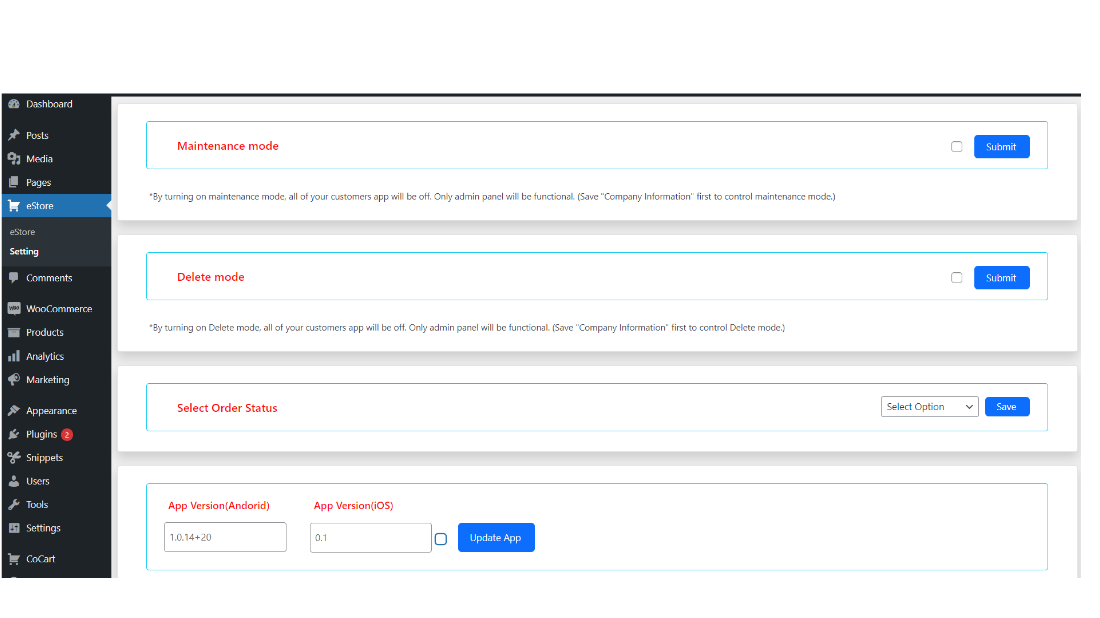
- If you want to changes in application you can use estore setting.
- Suppose You want to put the application into maintenance mode.
- You do click checkbox and after click submit button Your application going maintenance mode.
Support
If you face any kind of issue then you can reach us via whatsapp Click
Here.
Best of luck for your project.
To help our customers, we constantly be in touch with every customer if they need any assistance regarding our product. We offer our customers a support from Mon – Fri 10.00 am to 6.00 pm IST (GMT +5.30) – We are a Team located in India – Asia.
Rating
If you like our app, we will highly appreciate if you can provide us a rating of 5. You can rate us from your CodeCanyon Menu > Download page.